Let’s be honest: the garage is the last place you’d think to entertain. It’s where we stash the holiday decorations, the half-empty paint cans, and the lawnmower that smells faintly of gasoline. But if you’ve ever hosted a party where guests are crammed in the kitchen while you’re trying to sear scallops, you’ve probably glanced at that big, empty space and wondered. What if we could steal some of that square footage? What if the garage wasn’t just for cars, but for cocktails and conversation?
The idea isn’t to just throw a rug over the oil stain. It’s about a deliberate, thoughtful blend—creating a seamless, functional extension of your living space that works for Tuesday night dinners and Saturday night soirees. We’ve seen this dream go beautifully right and, frankly, expensively wrong. The key takeaway? It’s less about a single “idea” and more about navigating a series of very practical, often unglamorous, decisions.
Key Takeaways:
- A successful garage-kitchen blend is a permanent architectural change, not a temporary setup. It requires addressing fundamentals like insulation, flooring, and climate control first.
- The goal is cohesion, not just adjacency. Your materials, lighting, and flow should make the garage feel like a natural, intended part of the home, not an afterthought.
- Zoning is everything. Define clear areas for prep, serving, socializing, and utility to avoid a chaotic mess.
- In San Diego, this conversion can be a smart use of space, but our mild climate doesn’t eliminate the need for proper permits, vapor barriers, or consideration of coastal humidity.
What does “blending a garage and kitchen” actually mean?
It’s the process of partially or fully converting your attached garage into a dedicated, climate-controlled entertaining space that integrates directly with your existing kitchen. This isn’t a “garage bar” in the corner. It’s a permanent architectural modification that removes the barrier between the two spaces, creating one large, cohesive area for cooking, dining, and socializing. Think of it as a great room, but with the added flexibility of a massive, open floor plan that can handle a crowd.
The appeal is obvious: you gain a huge amount of flexible square footage without a full home addition. But the devil is in the details—details like whether your garage slab is level with your house slab (it often isn’t), or what’s hiding behind those drywall walls.
Table of Contents
Why This Isn’t a Weekend DIY Project
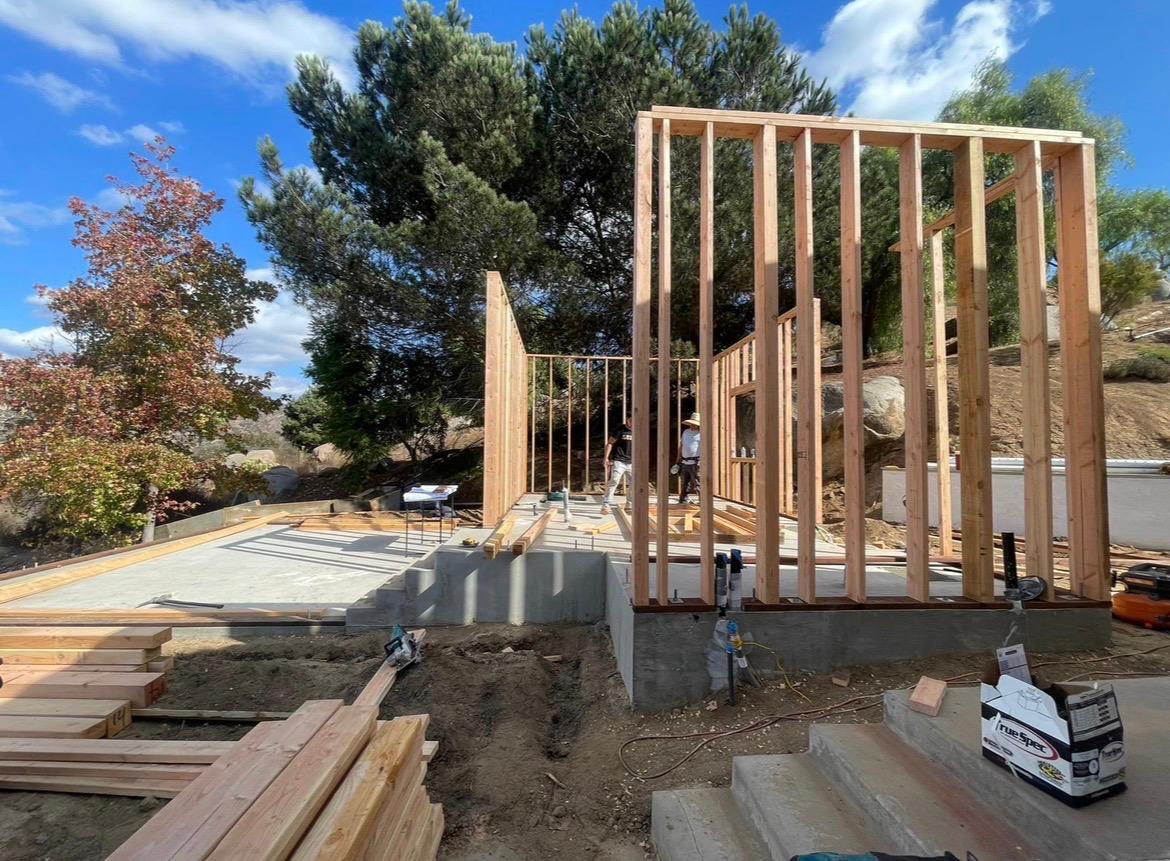
We’ve been called to fix more than one “finished” garage conversion where the homeowner started with the fun stuff—the epoxy floors, the sleek bar fridge—and ignored the bones. The result is a space that’s either freezing in January or smells like a gym locker in August. The unsexy stuff is non-negotiable.
First, insulation and air sealing. Your garage door is a giant thermal hole. Replacing it with an insulated, non-operational door or building a wall in front of it is common. Walls and ceilings need proper insulation batts. In older San Diego homes, especially in neighborhoods like North Park or Normal Heights, you might find uninsulated walls or, worse, knob-and-tube wiring that needs addressing before you close anything up.
Second, the floor. The concrete slab is usually several inches below the interior floor level. You’ll need to build it up with a subfloor system that allows for plumbing and electrical runs and provides a moisture barrier. This is critical. Pouring a new level slab is the gold standard but also the most invasive and expensive route.
Finally, HVAC. Extending your existing system is possible, but it often requires a dedicated zone or even a mini-split system to be effective. You can’t just cut a vent in the wall and hope for the best; you’ll throw off the balance of your entire system.
Designing for Flow, Not Just Footprint
Once the shell is sound, the real design work begins. The worst outcome is a garage that feels like a garage with a kitchenette slapped in. The best feels like it was always meant to be there.
The connection point is your most important design element. Removing the entire dividing wall creates a wide-open loft feel, but you lose valuable kitchen wall space for cabinets and appliances. A large, framed pass-through with a raised bar counter is often the smarter play. It maintains a visual and social connection while keeping cooking messes somewhat contained. We often use this bar counter as a dual-purpose zone: kitchen prep on one side, casual bar seating on the other.
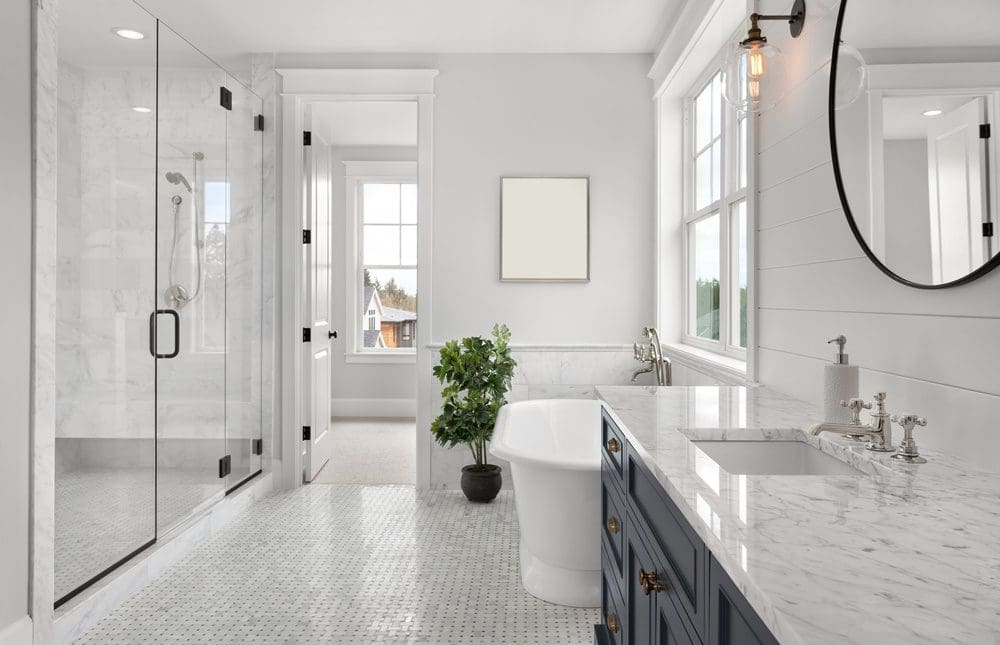
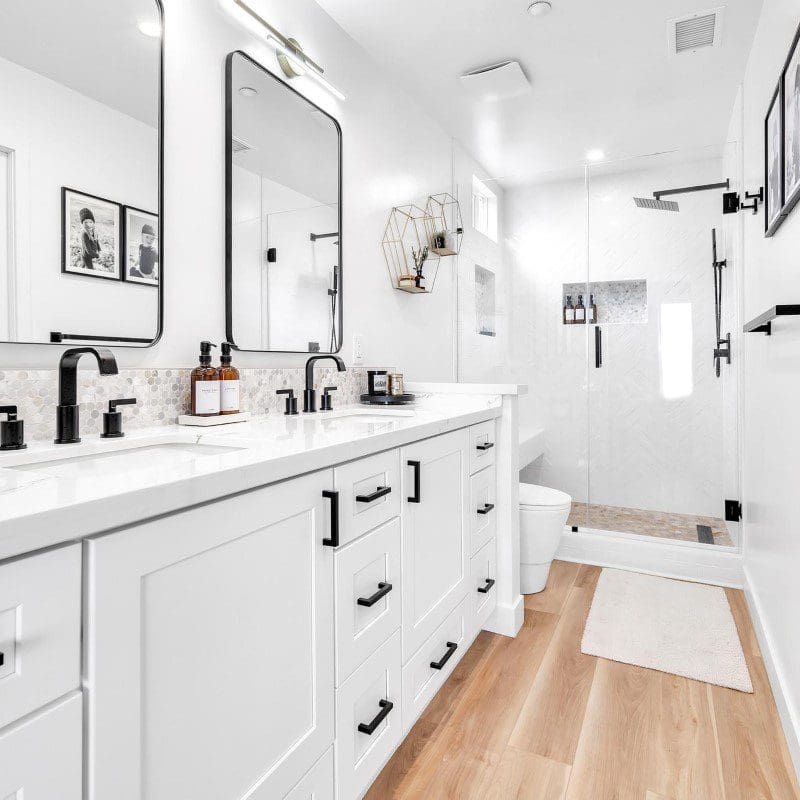
Material continuity is your best friend. Carry your kitchen flooring into the garage space. Match or complement cabinet finishes and countertops. Use the same paint color on the ceiling. This visual language tells your brain it’s all one space.
Zoning Your New Entertainment Territory
In a wide-open area, chaos reigns unless you define zones. We think of it in four areas:
- The Prep & Utility Zone: This is the “back of house.” It might include a second dishwasher, an under-counter beverage fridge, a large sink for filling drink tubs, and generous counter space for staging platters. This is where you hide the mess.
- The Serving & Socializing Zone: This is the heart—the large island or bar, the main drink station, the pizza oven or grill if you’ve installed one. It’s the interactive spot where guests gather.
- The Flexible Seating Zone: This area needs to be clear of the main traffic flow. Think of a mix: a built-in banquette along one wall, a large farmhouse table that can be extended, or modular furniture that can be rearranged for game day versus a dinner party.
- The “Garage” Zone (Yes, Keep One): Rarely does a home truly have zero storage needs. We always advocate for a discreet, walled-off closet or a sleek bank of tall cabinets along one wall. This is for the vacuum, the tool kit, the patio cushions. Out of sight, out of mind.
The San Diego Specifics (It’s Not All Sunshine and Easy Permits)
Our climate is a huge advantage, but it comes with its own rulebook. That ocean air carries moisture, so a robust vapor barrier under your flooring is a must to prevent mildew. While we don’t need the heavy insulation of the Midwest, proper thermal breaks and radiant barrier insulation in the roof can keep the space from becoming a solar oven in July.
Permits. Ah, permits. The City of San Diego’s Development Services Department will want to see plans. This work involves structural, electrical, plumbing, and mechanical changes. Pulling permits isn’t optional; it’s insurance. It ensures the work is done to code, which is about safety. It also protects your home’s valuation and prevents massive headaches when you go to sell. I’ve seen beautiful conversions get torn out during a sale inspection because the work wasn’t permitted. It’s a brutal, expensive lesson.
Furthermore, if you’re in a coastal overlay zone or a historic district, the rules get even more specific. It’s not just about what you want, but about preserving the character of communities like La Jolla or Coronado.
The Honest Cost & Value Conversation
Let’s talk numbers. This is not a cheap project because it’s foundational work. You’re essentially building a small addition, just within an existing shell.
| Project Phase | What It Typically Includes | Ballpark Cost Range (San Diego) | Why This Isn’t Optional |
|---|---|---|---|
| Shell & Infrastructure | Insulation, drywall, subfloor, HVAC extension/mini-split, electrical rough-in, permits. | $25,000 – $50,000+ | This is the “make it a room” phase. Skipping steps here creates a permanently flawed space. |
| Kitchen & Bar Build-Out | Cabinetry, countertops, sink, plumbing fixtures, appliances (secondary fridge, dishwasher, etc.), lighting. | $20,000 – $40,000+ | This is where function and style meet. Quality here determines daily enjoyment. |
| Finishes & Flooring | Flooring installation, paint, trim, final lighting (pendants, sconces), decorative elements. | $8,000 – $20,000 | This phase creates the cohesion and “wow” factor that makes the space feel intentional. |
Total Project Range: $53,000 – $110,000+
These numbers can swing wildly based on the level of finish, appliance choices, and the existing condition of your garage. Does it add equal value? In San Diego’s market, where indoor-outdoor living is a premium, a well-executed conversion that adds legitimate, permitted square footage can offer a strong return, both in your quality of life and resale. A shoddy one will be a red flag and a detractor.
When Blending Might Not Be the Right Answer
This idea isn’t for everyone. If it’s your only garage and you need to park cars, stop here. If your kitchen is already small and dysfunctional, focus your budget there first. If the idea of a 6-month project and major dust is a non-starter, consider a less permanent alternative.
And that’s a valid path! For many, a hybrid approach is smarter. Keep the garage door functional but upgrade it to a modern, insulated model. Install durable, easy-clean flooring (like polished concrete or luxury vinyl plank). Add a sleek, movable kitchen island on wheels, a powerful plug-in induction burner, and a good-looking beverage center. You get 80% of the functionality for large parties with 20% of the commitment and cost. You can always go full conversion later.
The Real Reward
We did a project like this in a Bay Park home a few years back. The homeowners loved to host their kid’s soccer team and extended family holidays. Their old kitchen was a bottleneck. Now, the kids pile into the garage zone around a large screen for movies, the adults mingle at the large central island, and the person cooking isn’t isolated. The space works because we solved the floor height and insulation first, then focused on a bulletproof, easy-clean material palette.
That’s the ultimate goal: a space that disappears as a “garage” and simply becomes more home. It’s about connection—between rooms, and between people. It takes planning, investment, and a willingness to prioritize the unseen structure over the visible style. But when you’re passing appetizers through the pass-through to a room full of friends in a space that used to hold recycling bins, you’ll know it was worth it. The best homes evolve to fit our lives, not the other way around.
People Also Ask
For 2026, the new kitchen look centers on warm minimalism and organic textures. Expect to see a shift away from stark all-white designs toward richer, earthy tones like sage green, warm taupe, and deep navy. Natural materials are dominant, with matte stone countertops, wood grain cabinetry, and zellige tile backsplashes becoming standard. Integrated appliances and hidden storage keep surfaces clean, while statement lighting—such as sculptural pendants or oversized lanterns—adds character. Open shelving is being replaced with glass-front cabinets for a curated but dust-free display. For a complete financial overview of these trends, refer to our internal article titled The True Cost of a Kitchen Remodel in San Diego (2026): A Complete Financial Breakdown. At Golden Shore Design and Build, we guide homeowners through these material and style choices to ensure a timeless, functional result.
To transform your garage into a functional and stylish space, start by decluttering and installing durable storage solutions like wall-mounted shelving and pegboards. Upgrade the flooring with epoxy coating for a polished, easy-to-clean surface. Improve lighting with LED fixtures and add a workbench for projects. For a personalized touch, consider a paint scheme that reflects your style. For more detailed guidance on maximizing your space, including layout ideas and design tips, refer to our internal article Unlocking Your Garage's Untapped Potential. At Golden Shore Design and Build, we specialize in creating custom garage conversions that blend utility with aesthetics, ensuring your investment adds real value to your home.
A budget of $30,000 for a kitchen remodel is a realistic starting point for a minor to mid-range renovation in the San Diego area, but it requires careful planning. This amount typically covers essential updates like new countertops, cabinet refacing or ready-to-assemble cabinets, mid-tier appliances, and new flooring. However, it may not stretch to a full custom overhaul involving structural changes, high-end materials, or premium cabinetry. For a more accurate picture of what this budget can achieve, we recommend reviewing our internal article titled The True Cost of a Kitchen Remodel in San Diego (2026): A Complete Financial Breakdown. Golden Shore Design and Build advises homeowners to prioritize their must-haves and always set aside a 10-15% contingency fund for unexpected issues like old plumbing or electrical updates.
To breathe new life into a boring kitchen, start by focusing on high-impact updates. Replacing old cabinet hardware with modern pulls or knobs instantly changes the look. Adding a fresh coat of paint to cabinets or an accent wall can dramatically alter the space. Consider upgrading your backsplash with peel-and-stick tiles for a quick, budget-friendly refresh. Under-cabinet lighting also adds warmth and functionality. For a more comprehensive transformation, our internal article titled Revamping Your Kitchen: A Guide offers detailed strategies. At Golden Shore Design and Build, we recommend focusing on layered lighting and texture to create visual interest without a full renovation.