ADU Anxiety? Your Guide To A Legal And Profitable Build
Let’s be honest. The idea of building an Accessory Dwelling Unit (or ADU, for the uninitiated) can feel equal parts thrilling and utterly terrifying. One minute you’re dreaming of extra income or a home for your mother-in-law (bless her), and the next, you’re drowning in a sea of zoning codes, permit applications, and contractor horror stories. We get it. We’ve been there with our clients more times than we can count.
But what if we told you it doesn’t have to be that way? What if you could navigate this process with confidence, knowing your project is not only legal but also set up to be massively profitable? Grab a coffee, get comfortable, and let’s talk it through. We’re about to turn that ADU anxiety into ADU anticipation.
Why Bother? The Undeniable Perks of Your ADU
Before we wade into the nitty-gritty of how to build, let’s solidify the why. Spoiler alert: it’s not just about the money, but yeah, it’s mostly about the money.
An ADU is one of the smartest residential investments you can make in San Diego. We’re not just saying that; we see the proof in our clients’ lives. Think about it: you’re adding an entire new living space to your property. That translates to some serious benefits.
- Rental Income: This is the big one. A well-built ADU provides a steady stream of passive income that can help with your mortgage, save for retirement, or fund that vacation you’ve been dreaming about. It’s like adding a mini-business to your backyard.
- Increased Property Value: When it comes time to sell, an permitted ADU significantly boosts your home’s market value. Buyers see it as a versatile asset.
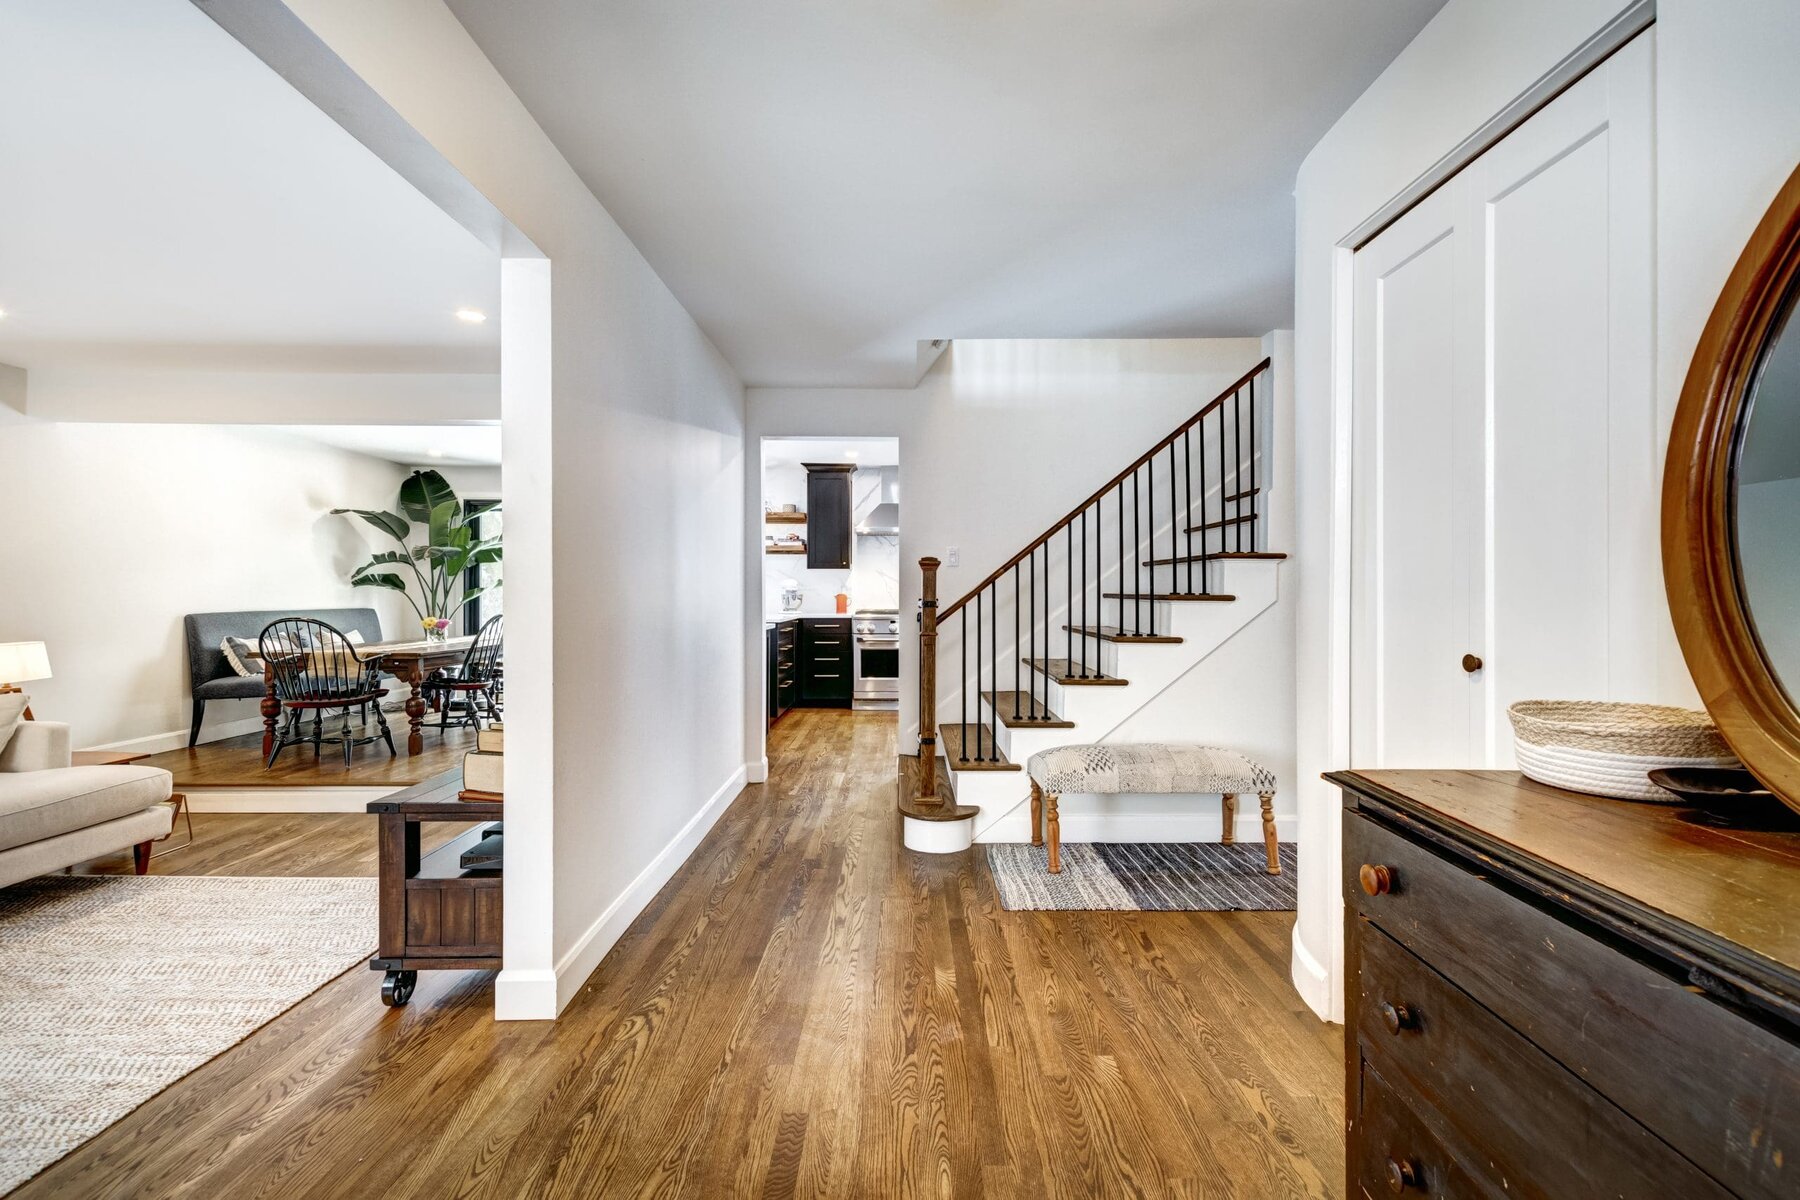
- Flexible Living Space: This is where it gets personal. An ADU can be so much more than a rental. It’s a perfect space for:
- Aging parents who want to be near but value their independence.
- Adult children saving for a down payment (we all know how that goes in Southern California).
- A dedicated home office, art studio, or gym.
- Short-term rental potential for those near popular areas.
The bottom line? An ADU is far more than just a room addition; it’s a strategic upgrade to your lifestyle and financial future.
Navigating the Maze: Making Your ADU 100% Legal
Okay, here’s where most people’s eyes glaze over. Permits. Codes. Zoning. Yawn, right? But stick with us, because this is the part that separates a profitable, stress-free project from a money-pit nightmare. Getting this wrong can mean fines, forced demolition, or a unit you can’t legally rent out. No pressure 🙂
The first and most critical step is understanding your local regulations. San Diego has its own specific rules for ADUs, and they can differ from other cities. You need to know things like:
- Maximum size and height limits for your lot.
- Setback requirements (how far the structure must be from your property lines).
- Parking requirements.
- Owner-occupancy rules.
Trying to decipher this on your own can feel like reading a different language. This is precisely where a seasoned general contractor or a specialized remodeling company like ours at Golden Shore Design and Build becomes your greatest ally. We live and breathe these codes. We know the nearest planning department, the right people to talk to, and how to submit plans that get approved, not rejected. Why spend weeks stressed when you can have a pro handle it?
From Dream to Design: Visualizing Your Perfect ADU
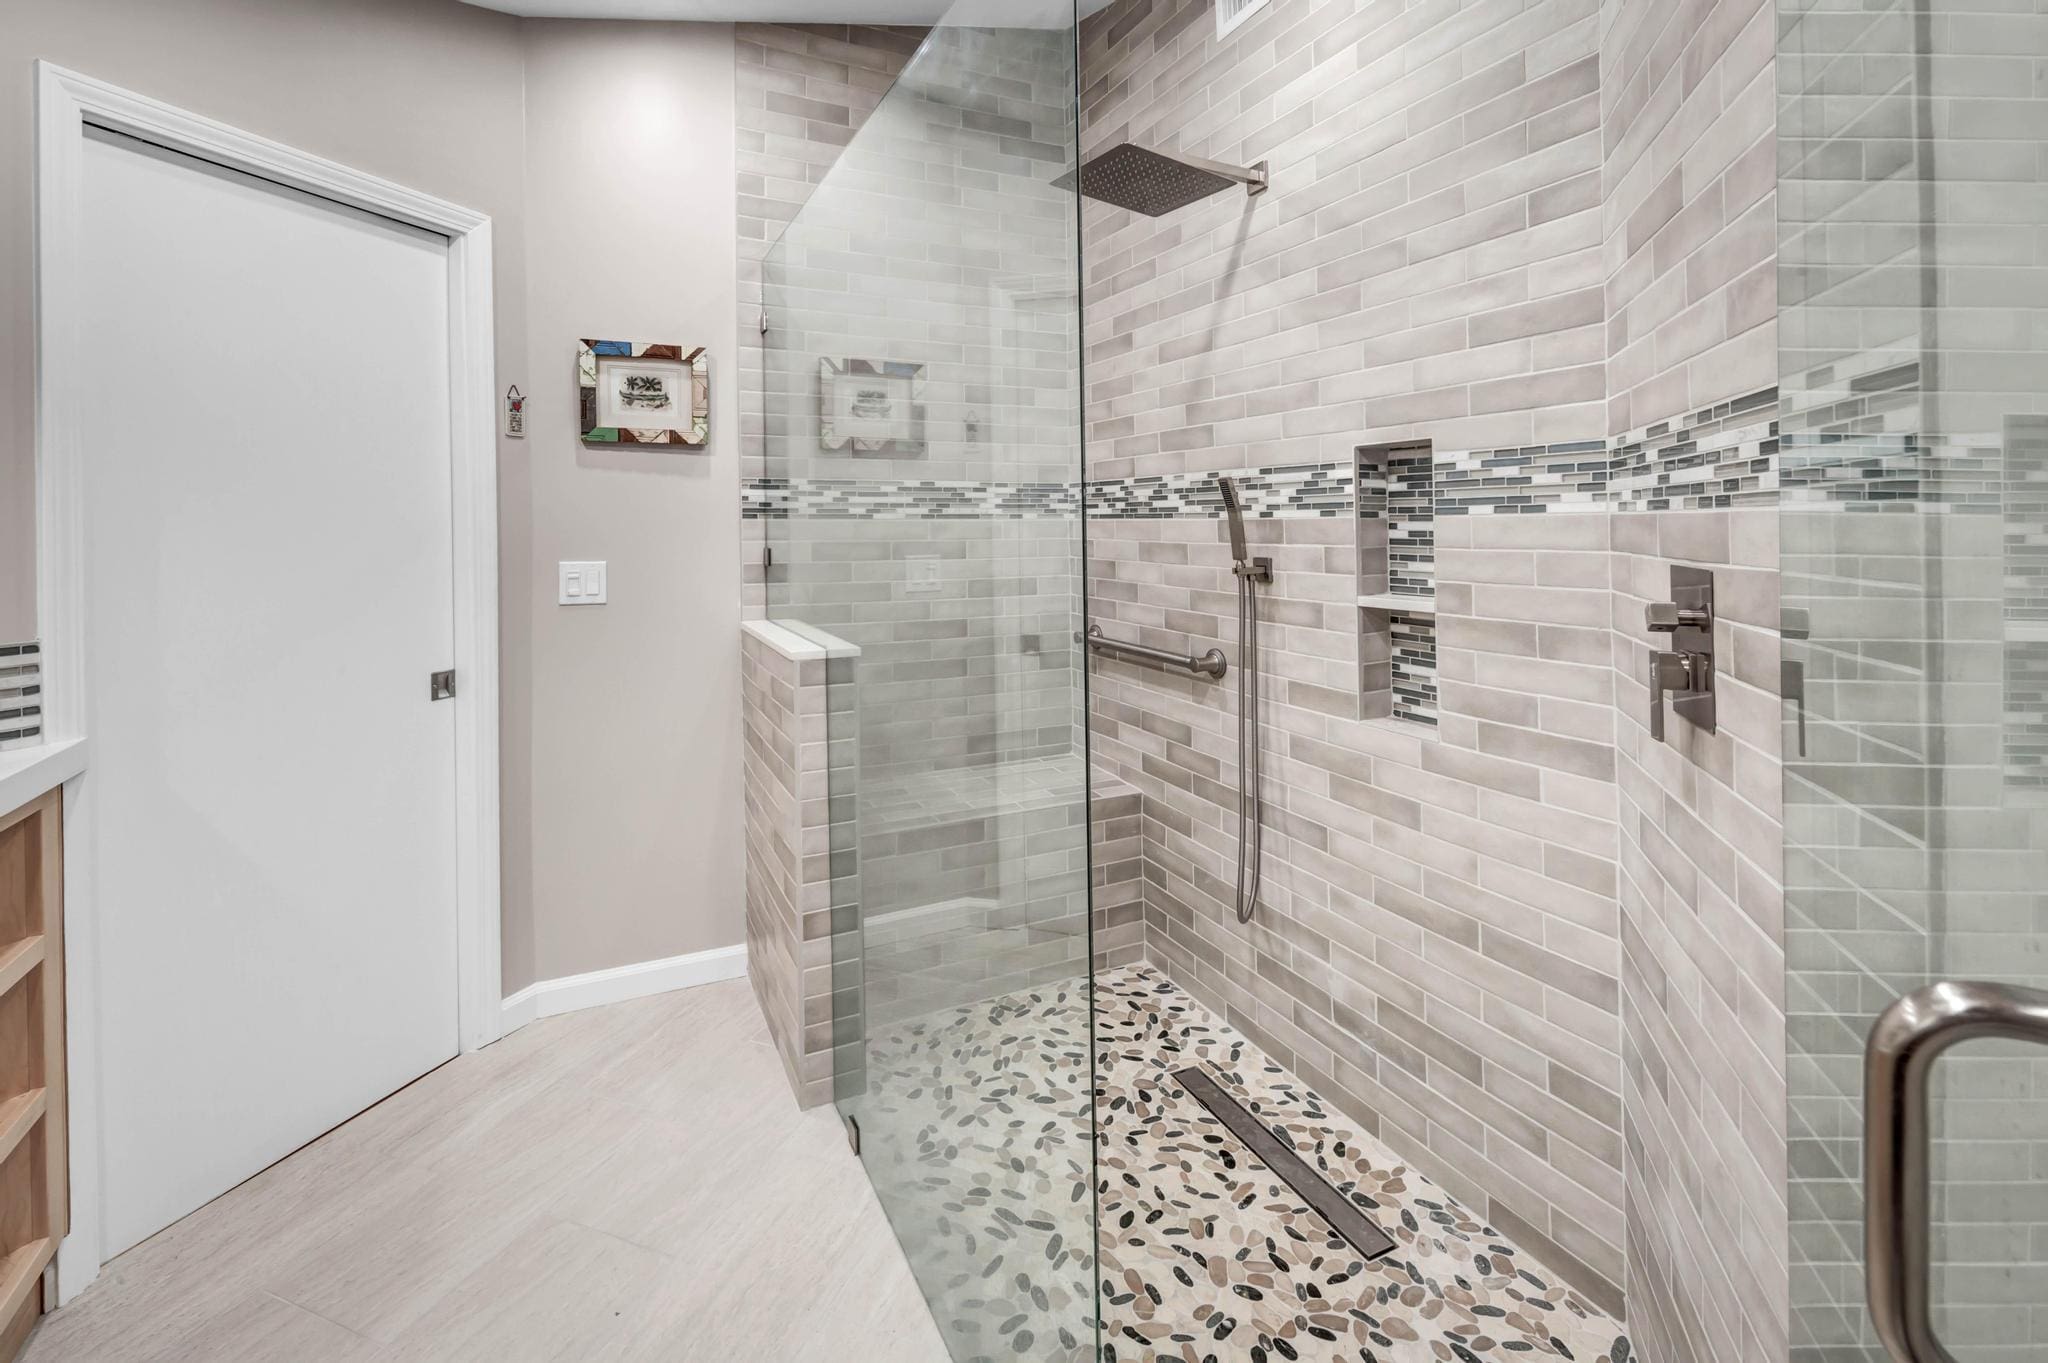
Now for the fun part! This is where your ideas start to take shape. What do you want your ADU to be? A cozy one-bedroom cottage? A sleek, modern studio with a killer kitchen and bathroom?
Good design isn’t just about aesthetics; it’s about functionality and cost-efficiency. A smart layout maximizes every square foot and uses materials wisely to keep your project on budget. Ever walked into a space and thought, “Wow, they really thought of everything?” That’s the goal.
We’re huge believers in the power of 3D design. Why? Because it lets you take a virtual walk-through of your new space before a single nail is hammered. You can see how the light falls, where the furniture will fit, and if that bathroom layout actually works. It eliminates the “I thought it would be different” conversation later on. For a project this big, seeing is truly believing.
The Build: Finding the Right Partner for the Job
Alright, you’ve got your plans approved and your design finalized. Now comes the real test: who is going to build this thing? Choosing your builder is arguably the most important decision you’ll make.
You can, of course, try to manage the project yourself. But ask yourself this: do you have the time to coordinate a dozen different subcontractors, source materials, and solve the daily, unexpected problems that will arise? If you have a full-time job and a life, the answer is probably no.
This is where hiring a professional remodeling contractor pays for itself in saved time, stress, and avoiding costly mistakes. You’re not just hiring labor; you’re hiring a project manager, a problem-solver, and an expert.
So, how do you choose?
- Get Multiple Bids: Don’t just go with the first general contractor you find. Get at least three detailed bids.
- Compare Apples to Apples: Look beyond the bottom-line price. What exactly is included in each bid? The closest bids in price might have vastly different scopes of work.
- Check References and Portfolios: Any reputable remodeling company will be proud to show off their past work. Look for experience specifically with ADUs or similar home building projects.
- Communication is Key: You want a builder who listens and communicates clearly. If they’re hard to reach during the sales process, imagine during construction!
We might be biased, but we believe a company like Golden Shore Design and Build, which handles the entire process from home design to final construction, offers a seamless experience. There’s no finger-pointing between the designer and the builder because we’re the same team. It just makes the whole process smoother.
Budgeting Realistically: The True Cost of Your ADU
Let’s talk numbers. The biggest question we get is, “How much will this cost?” It’s a fair question, but the answer isn’t always simple. The price can vary wildly based on size, finishes, site conditions, and the current market.
To give you a realistic picture, let’s break down the main cost categories for a typical detached ADU in San Diego. This isn’t a quote, but a framework to help you understand where your money goes.
| Cost Category | What It Typically Includes | Approximate Percentage of Total Budget |
|---|---|---|
| Design & Permits | Architectural plans, engineering, 3D design, city/planning department fees. | 10-15% |
| Site Preparation | Demolition (if needed), grading, utility connections (sewer, water, power). | 5-10% |
| Foundation & Framing | Concrete slab or piers, lumber, structural sheathing, roof trusses. | 15-20% |
| Exterior Finishes | Siding, roofing, windows, doors, exterior paint. | 10-15% |
| Major Systems | Plumbing, electrical, HVAC, insulation. | 15-20% |
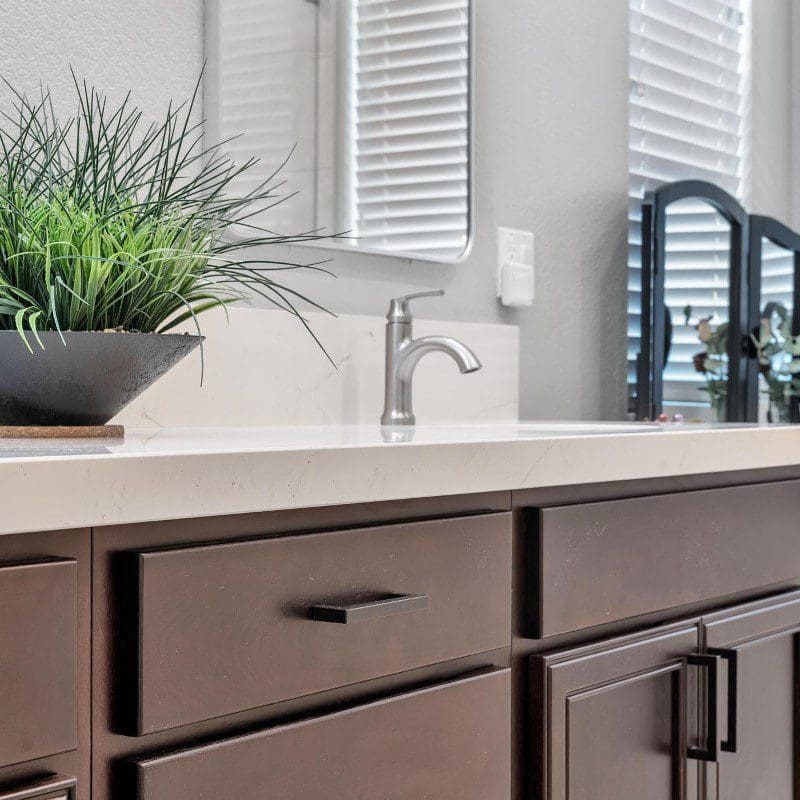
| Interior Finishes | Drywall, kitchen cabinets & appliances, bathroom vanities & fixtures, flooring, interior paint, lighting. | 20-25% |
| Contingency Fund | The most important line item. For unexpected issues. Never, ever skip this. | 10-15% |
See? It’s more than just lumber and labor. And that contingency fund? That’s your peace-of-mind insurance for when we open up a wall and find something… interesting. It happens!
Answering Your Top ADU Questions
We hear the same questions all the time, so let’s tackle a few head-on.
1. How long does the entire ADU process take from start to finish?
This is the “how long is a piece of string?” question, but we’ll give it a shot. For a standard detached ADU in San Diego, you’re generally looking at:
- Design & Permitting: 4-8 months (yes, really, the city can be slow).
- Construction: 6-9 months.
So, all in, a 12-to-18-month timeline is realistic. A good general contractor will manage your expectations from day one.
2. Can I build an ADU and do a whole house remodel at the same time?
Technically, yes. Logistically, it’s… ambitious. IMO, unless you’re prepared for a significant amount of chaos and are working with a very large and experienced remodeling company, we’d usually recommend sequencing the projects. Tackle the ADU first, then use the rental income to help fund your whole house renovation. Just a thought 🙂
3. My home is older. Will that be a problem?
Not necessarily, but it requires extra diligence. Older homes often mean surprise updates to the main house’s sewer or electrical systems to support the new ADU. A good contractor will identify these potential issues early during the design phase. This is another reason that contingency fund is non-negotiable.
Your Next Steps Toward a Stress-Free ADU
Whew. That was a lot, but you’re now armed with the knowledge to start your ADU journey on the right foot. You understand the value, the legal hurdles, the design power of 3D, the importance of your builder choice, and the reality of the cost.
The dream of adding a legal, profitable, and beautiful space to your property is completely within reach. It all comes down to planning and partnering with the right team.
If you’re in the San Diego area and this conversation has sparked an idea or calmed a fear, we’d love to chat. At Golden Shore Design and Build, we handle everything from that initial spark of an idea to handing you the keys. We take the anxiety out of the equation so you can focus on the excitement.
So, what are you waiting for? Let’s build something amazing together.