The “golden rule” of bathroom design isn’t about a single measurement. It’s about creating a safe, functional, and comfortable space where everything works in harmony. This means prioritizing clearances, smart fixture placement, and understanding that the best layout is the one that fits your life, not just a textbook diagram.
We’ve walked into hundreds of bathrooms over the years, from stunning Mission Beach remodels to cramped 1920s bungalow bathrooms in North Park. And the single most common planning mistake we see isn’t a style choice—it’s a fundamental misunderstanding of space. Homeowners get fixated on the dream tub or a double vanity, but they haven’t first asked: “Can we actually move in here?”
So, let’s talk about what mastering bathroom layouts really means. It’s less about rigid rules and more about a set of practical principles that prevent daily frustration.
What is the core principle of a functional bathroom layout?
The core principle is creating clear, unobstructed zones for each activity. You need a clear path to enter, space to stand at the vanity, room to use the toilet, and safe access to the shower or tub. This is governed by building codes (which are minimums) and comfort guidelines. Think of it as choreographing movement in a small space—nothing should feel like a contortionist act.
Table of Contents
The Myth of the “Perfect” Template
You’ll see a thousand articles with the same three rectangles labeled “toilet, sink, shower” in an L-shape. In theory, it works. In practice, we’ve seen it fail because the toilet door swings into the knee space, or the shower door clearance steals room from the vanity. The template doesn’t account for your home’s specific plumbing walls, window placement, or the fact that you’re 6’2″. The real work starts when you layer your reality over the ideal.
The Non-Negotiable: Clearance Zones
This is where experience shouts over inspiration photos. Building code gives you the legal minimum. We design for the livable minimum, which is often more.
- Toilet Zone: Code says 15 inches from center to any side wall or obstacle. We aim for 18 inches minimum. Why? Cleaning, comfort, and the simple fact that no one wants to feel wedged in. There should be at least 21 inches of clear space in front of it.
- Shower Entry: A shower door that swings out into the room needs a landing zone. If it opens inward, you need room to step back without hitting the toilet. Curbless showers are fantastic for accessibility and feel more open, but they require precise sloping of the floor—a common DIY pitfall we’re called to fix.
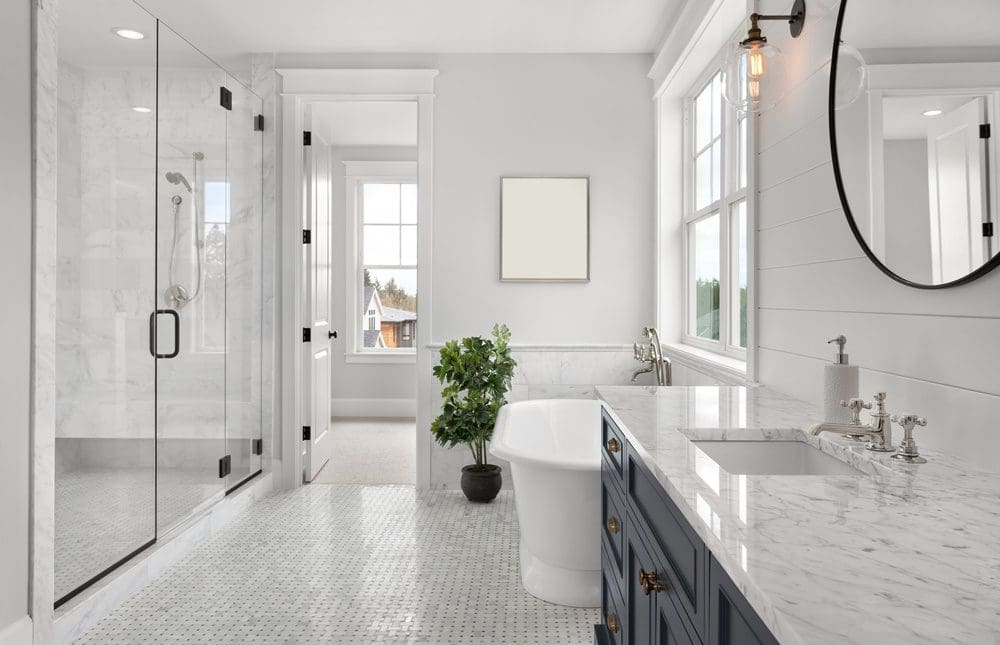
- Vanity Clearance: Plan for 30-36 inches of clear floor space in front of it. For a single sink, 30 inches works. For a double, 36 inches is the sweet spot so two people aren’t elbow-fighting. Don’t forget about the door swing! A beautiful vanity is useless if the door hits it every time you enter.
The Trade-Offs You’ll Actually Face
Every decision has a consequence. Here’s a table based on choices we guide clients through weekly:
| Choice | The Benefit | The Trade-Off & Practical Consideration |
|---|---|---|
| Pocket Door | Saves crucial floor space in tight layouts. | Wall must be non-structural. Hardware quality is critical—cheap ones feel flimsy and break. Offers less sound privacy. |
| Single Sink Vanity | More counter space and storage in the same footprint. | Doesn’t work for couples getting ready simultaneously. Can be a resale negative in a primary bath. |
| Freestanding Tub | Aesthetic centerpiece, often easier to install. | Can be awkward to clean around. Placement is key—you need access on at least two sides. Uses more floor space than an alcove tub. |
| Large-Format Tile | Fewer grout lines, modern look. | Requires a perfectly flat subfloor. In our older San Diego homes with settled floors, this often means an extra leveling step. Costlier installation. |
| Skylight vs. Window | Solves privacy/lighting issues on shared walls. | Skylights can introduce heat gain (a real SD concern) and potential for leaks if not flashed perfectly. Windows offer ventilation. |
When the “Rules” Bend (Or Break)
The golden rule is a guide, not a dictator. In a tiny beach condo bathroom, you might accept a 16-inch toilet side clearance to fit a shower stall that doesn’t feel like a coffin. In a spacious master bath, you might increase clearances beyond standard for a true spa-like feel. The goal is intentional deviation, not ignorant oversight.
What’s the first step in planning a bathroom layout?
The first step is to measure your existing space meticulously and draw a simple plan, marking all immovable objects: plumbing stack locations, vent pipes, windows, and door swings. Then, tape out the proposed layout on the floor with painter’s tape. Live with it for a day. Open imaginary doors, mimic your routine. This reality check is more valuable than any software.
The Local Reality Check
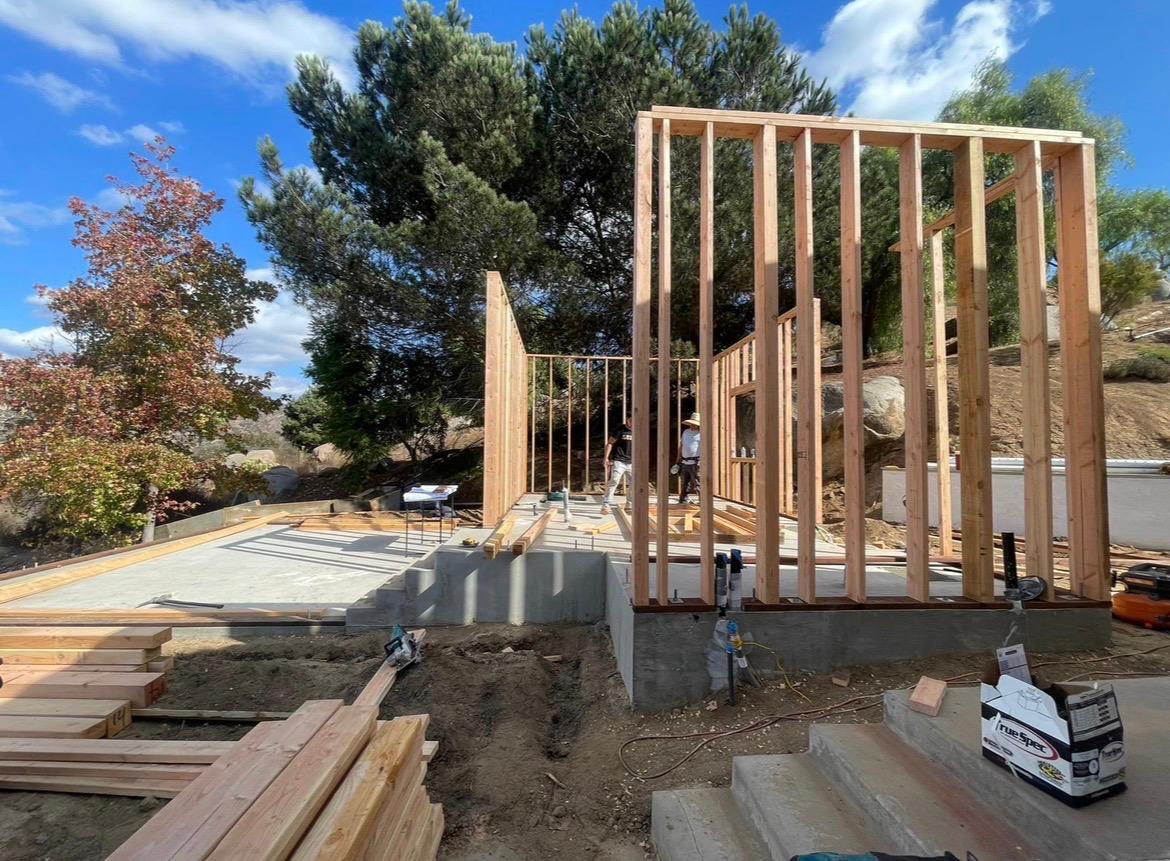
Working in San Diego adds its own layer. In coastal zones, ventilation is critical to combat salt air and humidity. In older neighborhoods like Kensington or Normal Heights, we’re often dealing with plaster walls, outdated galvanized plumbing, and floor joists that aren’t level. A layout that looks great on paper might require a $5,000 plumbing re-route because the main stack is in the worst possible place. That’s the hidden curriculum of renovation.
Why Professional Help Isn’t a Luxury
We get it—everyone wants to save money. But here’s the moment we see homeowners realize they need a pro: when they have a beautiful plan that requires moving the toilet. If that toilet is on a concrete slab (common in many post-war SD homes), you’re now talking about concrete cutting, re-routing cast-iron drain lines, and re-pouring. The cost and complexity explode. A seasoned design-build team, like us at Golden Shore Design & Build, can spot these red flags in the first conversation. We might suggest a layout that achieves the same goal without that move, saving you ten grand and three weeks of headache. That’s not an upsell; it’s risk management.
It’s About Flow, Not Just Fixtures
Finally, remember the feel. A masterful layout considers the journey. Where do your wet feet go when you step out of the shower? Is there a towel bar within easy reach? Can you take care of business at the toilet without feeling like you’re on display? The best bathroom we ever designed wasn’t the biggest or most expensive. It was a small, clever layout in a Bay Ho remodel where every inch served a purpose, and the homeowner said, “It just works.” That’s the real golden rule.
So, start with the clearances. Respect the trade-offs. Tape it out on the floor. And if your dream layout starts to look like a game of Tetris with plumbing, that’s a good sign to bring in a local professional for a consult. The goal is to build a space you’ll love using every day, not just one that looks good in a plan view.
Related Articles
Remodeling Your Bathroom Guide
Smart Storage Solutions For A Tidier Bathroom
Planning For Hidden Costs In Your Bathroom Reno
People Also Ask
A standard bathroom layout typically prioritizes the "wet zone" around the shower or tub, followed by the toilet and vanity. The most common arrangement places the shower or tub at the far end, the toilet in the middle, and the vanity near the door for easy access. Industry standards recommend a minimum of 30 inches of clear space in front of the toilet and shower for comfortable movement. For smaller spaces, a corner shower or a floating vanity can maximize floor area. For a more detailed guide on organizing these elements efficiently, you can review our internal article Smart Storage Solutions For A Tidier Bathroom. At Golden Shore Design and Build, we always recommend planning the layout around the main plumbing wall to reduce costs and ensure a functional flow.
A well-designed bathroom balances aesthetics with function, and avoiding common mistakes is key. Poor lighting, such as relying solely on a single overhead fixture, can create harsh shadows and make tasks like shaving or applying makeup difficult. Inadequate ventilation is another frequent error, leading to moisture damage and mold growth. Skimping on storage often results in cluttered countertops; for practical solutions, refer to our internal article Smart Storage Solutions For A Tidier Bathroom. Finally, ignoring the placement of fixtures like the toilet or shower can make the space feel cramped. For a successful remodel in San Diego, Chula Vista, or the surrounding areas, Golden Shore Design and Build recommends careful planning to avoid these pitfalls and ensure a functional, beautiful result.
A 9x9 bathroom layout offers a spacious 81 square feet, allowing for a luxurious and functional design. This square footprint is ideal for including a separate shower and a soaking tub, or for creating a large walk-in shower with a bench. You can comfortably fit a double vanity, a water closet, and ample storage. For optimal flow, place the vanity along the longest uninterrupted wall and the toilet in a private nook. A wet room concept, where the shower and tub share a waterproofed area, is also popular. Professional planning ensures every fixture meets accessibility standards. Golden Shore Design and Build recommends using a floor plan that zones wet and dry areas to prevent moisture damage and enhance usability.