A full‑scale home renovation in 2026 follows eight tightly integrated phases: scope definition and realistic budgeting, architectural design and 3‑D visualization, permit acquisition with current California energy and ADU codes, contractor selection (design‑build versus traditional), demolition and site protection, rough‑in mechanicals, interior finishes, and a rigorous punch‑list and inspection closure. The entire journey rewards homeowners who treat pre‑construction as half the project — and partner with a licensed, in‑house design‑build team to avoid budget overruns and scheduling chaos.
Table of Contents
Phase 1 — Define Your Scope and Build a Realistic Budget
Before moving a single wall, lock down exactly what “full‑scale” means for your home. A comprehensive scope document prevents mid‑project surprises that inflate costs by 20 percent or more.
-
List every space you intend to touch: kitchens, bathrooms, bedrooms, living areas, exterior envelope, mechanical systems, and accessory structures.
-
Classify each change as cosmetic (paint, flooring), layout (removing walls, relocating plumbing), system (new electrical panel, heat pump HVAC), or addition (ADU, bump‑out).
-
Use a three‑column budget: hard costs (materials, labor, subcontractors), soft costs (design fees, permits, engineering), and a 15–20 percent contingency for unknowns behind walls.
-
Research 2026 San Diego County construction costs. Mid‑range whole‑home remodels typically run from 200 dollars to 400 dollars per square foot; a high‑end custom gut renovation can exceed 500 dollars per square foot. Adding a 800‑square‑foot attached ADU averages 250,000 dollars to 350,000 dollars when built by a design‑build firm.
Table 1 — Estimated Renovation Costs by Project Type (San Diego County, 2026)
| Project Type | Typical Cost Range (dollars) | Cost per Square Foot (dollars) | Average Timeline |
|---|---|---|---|
| Kitchen remodel (200 sq ft) | 55,000–115,000 | 275–575 | 8–14 weeks |
| Primary bathroom (100 sq ft) | 35,000–75,000 | 350–750 | 6–10 weeks |
| Whole‑home cosmetic update (2,000 sq ft) | 120,000–220,000 | 60–110 | 12–20 weeks |
| Full gut renovation (2,000 sq ft) | 400,000–800,000+ | 200–400+ | 20–36 weeks |
| New detached ADU (800 sq ft) | 220,000–380,000 | 275–475 | 16–28 weeks |
| Whole‑home + ADU combination | 600,000–1,200,000+ | Varies | 30–52 weeks |
Sources: 2025 Zonda Cost vs. Value Report, local San Diego builder estimates, Golden Shore Design & Build project data.
Tie every dollar to a funding source. Most homeowners combine cash savings with a home equity line of credit or a renovation‑specific construction loan. Lock in financing before design begins — lenders in 2026 often require a signed contractor agreement and a detailed cost breakdown to release draws.
Phase 2 — Architectural Design, 3‑D Renderings, and Engineering
This phase converts your wish list into a buildable set of plans. In 2026, successful projects rely on immersive visualization and energy modeling from day one.
-
Start with as‑built measurements. A precise laser scan captures every structural member, duct run, and plumbing chase so the design team works from reality, not old blueprints.
-
Collaborate on schematic layouts. A design‑build firm like Golden Shore Design & Build offers in‑house architectural design under one roof, so the designer, structural engineer, and construction lead resolve load‑bearing conflicts before a line is drawn.
-
Review photorealistic 3‑D renderings and virtual walkthroughs. This eliminates the “I thought it would look different” moment that triggers expensive change orders during drywall.
-
Embed 2026 California Title 24 energy compliance into the plans. All new homes and major remodels must meet updated efficiency standards — including mandatory heat pump space and water heating in many jurisdictions, high‑performance windows, and solar‑ready infrastructure.
-
Finalize structural engineering for any wall removal, second‑story addition, or foundation work. Seismic retrofitting is frequently required in San Diego County; the engineer’s stamp must appear on the permit set.
Phase 3 — Permits, Coastal Approvals, and ADU Regulations
Permitting is where even seasoned homeowners lose months. California’s 2026 ADU laws continue to streamline accessory dwelling unit approvals, but coastal zones, historic districts, and HOA overlays add complexity.
-
Submit complete construction drawings to the San Diego Development Services Department. Typical review times in early 2026 range from 4 to 8 weeks for standard remodels and 2 to 4 weeks for over‑the‑counter ADU permits under state streamlining.
-
Address coastal development permits if your property falls within the Coastal Zone. This often requires a separate hearing and can add 12 to 16 weeks. A contractor who coordinates engineering, biology reports, and coastal staff upfront cuts this timeline significantly.
-
For an ADU, rely on the latest California ADU Handbook and local ordinances. Golden Shore Design & Build’s deep expertise in ADU regulations ensures that setbacks, height limits, parking requirements, and owner‑occupancy rules are satisfied without last‑minute redesigns.
-
Factor in third‑party inspections for energy compliance (HERS rater), fire sprinkler sign‑offs if applicable, and school district fees for additions over 500 square feet. All of these sit in the soft‑cost column.
Table 2 — Typical Permit and Review Timelines in San Diego County (2026)
| Permit Type | Average Processing Time | Key Considerations |
|---|---|---|
| Over‑the‑counter ADU (SB 9 / SB 684) | 2–4 weeks | Must meet state‑mandated objective standards |
| Standard interior remodel (no structural) | 3–6 weeks | Expedited if no MEP changes |
| Structural remodel / addition | 4–8 weeks | Requires plan check by building, structural, and sometimes fire |
| Coastal Development Permit | 12–16 weeks | Needs separate staff report and hearing |
| Historic Resource Review | 10–20 weeks | Mills Act properties follow strict guidelines |
Phase 4 — Choose Your Delivery Method: Why Design‑Build Wins in 2026
Homeowners face a critical fork: hire an architect, put the plans out to bid, and manage multiple contractors, or engage a single design‑build firm that carries the project from napkin sketch to occupancy.
-
Traditional design‑bid‑build often creates a gap between the designer’s intent and the builder’s budget. Bids regularly come in 25 percent above the architect’s estimate, triggering a costly redesign loop.
-
Design‑build contracting, as practiced by Golden Shore Design & Build, assigns one team responsibility for the design, engineering, permitting, and construction. Your budget is continuously validated against real‑time material and labor costs, not abstract allowances.
-
A dedicated project manager serves as your single point of contact, providing weekly updates, scheduling inspections, and troubleshooting supply‑chain hiccups that still ripple through 2026.
-
Look for a contractor who is licensed, bonded, and insured (California CSLB license # required) and carries workers’ compensation and general liability. GSDB meets all these standards and publishes client references alongside a satisfaction guarantee.
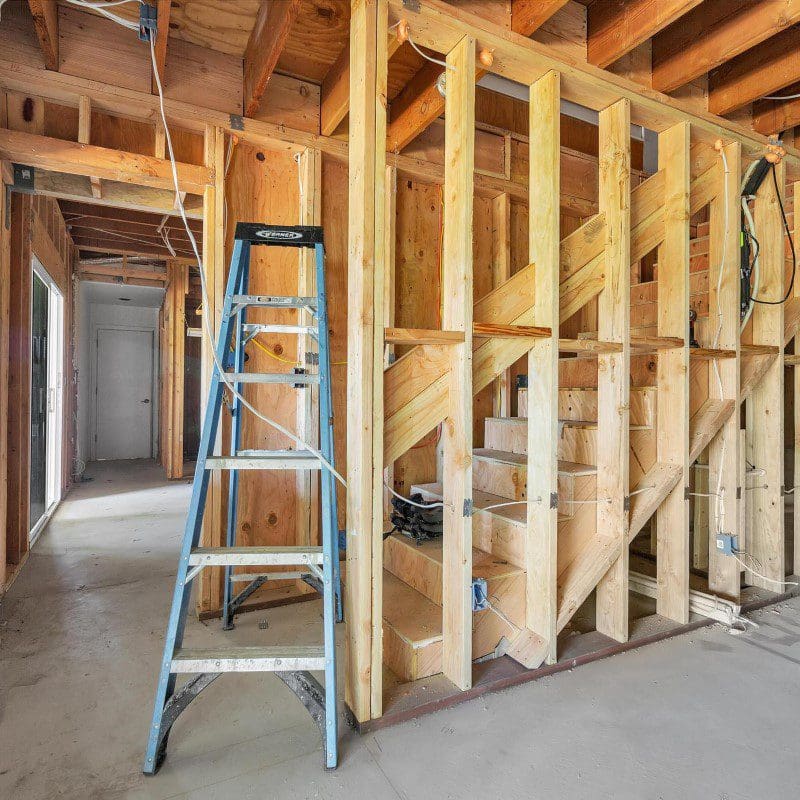
Phase 5 — Demolition, Site Protection, and Foundation Work
Construction begins. The seemingly chaotic demo week is actually a disciplined process when run by professionals.
-
Erect dust barriers and negative‑air machines to contain debris. The crew protects floors that remain, seals HVAC vents, and posts a clearly marked safety plan.
-
Soft demolition removes cabinetry, fixtures, flooring, and non‑structural walls. Materials are sorted for recycling or donation per California’s 2026 Construction and Demolition Debris Recovery Ordinance; many municipalities require a minimum 65 percent diversion rate.
-
Structural demolition of load‑bearing walls occurs only after temporary shoring is in place. If foundation underpinning is needed for a second story or ADU, that work starts here, with continuous special inspection.
-
After demolition, the superstructure is exposed. This is the moment to verify that the existing framing, foundation, and waterproofing match the as‑built plans. Surprises — rotten sill plates, outdated wiring, earthquake damage — are documented and resolved immediately using a portion of the contingency fund.
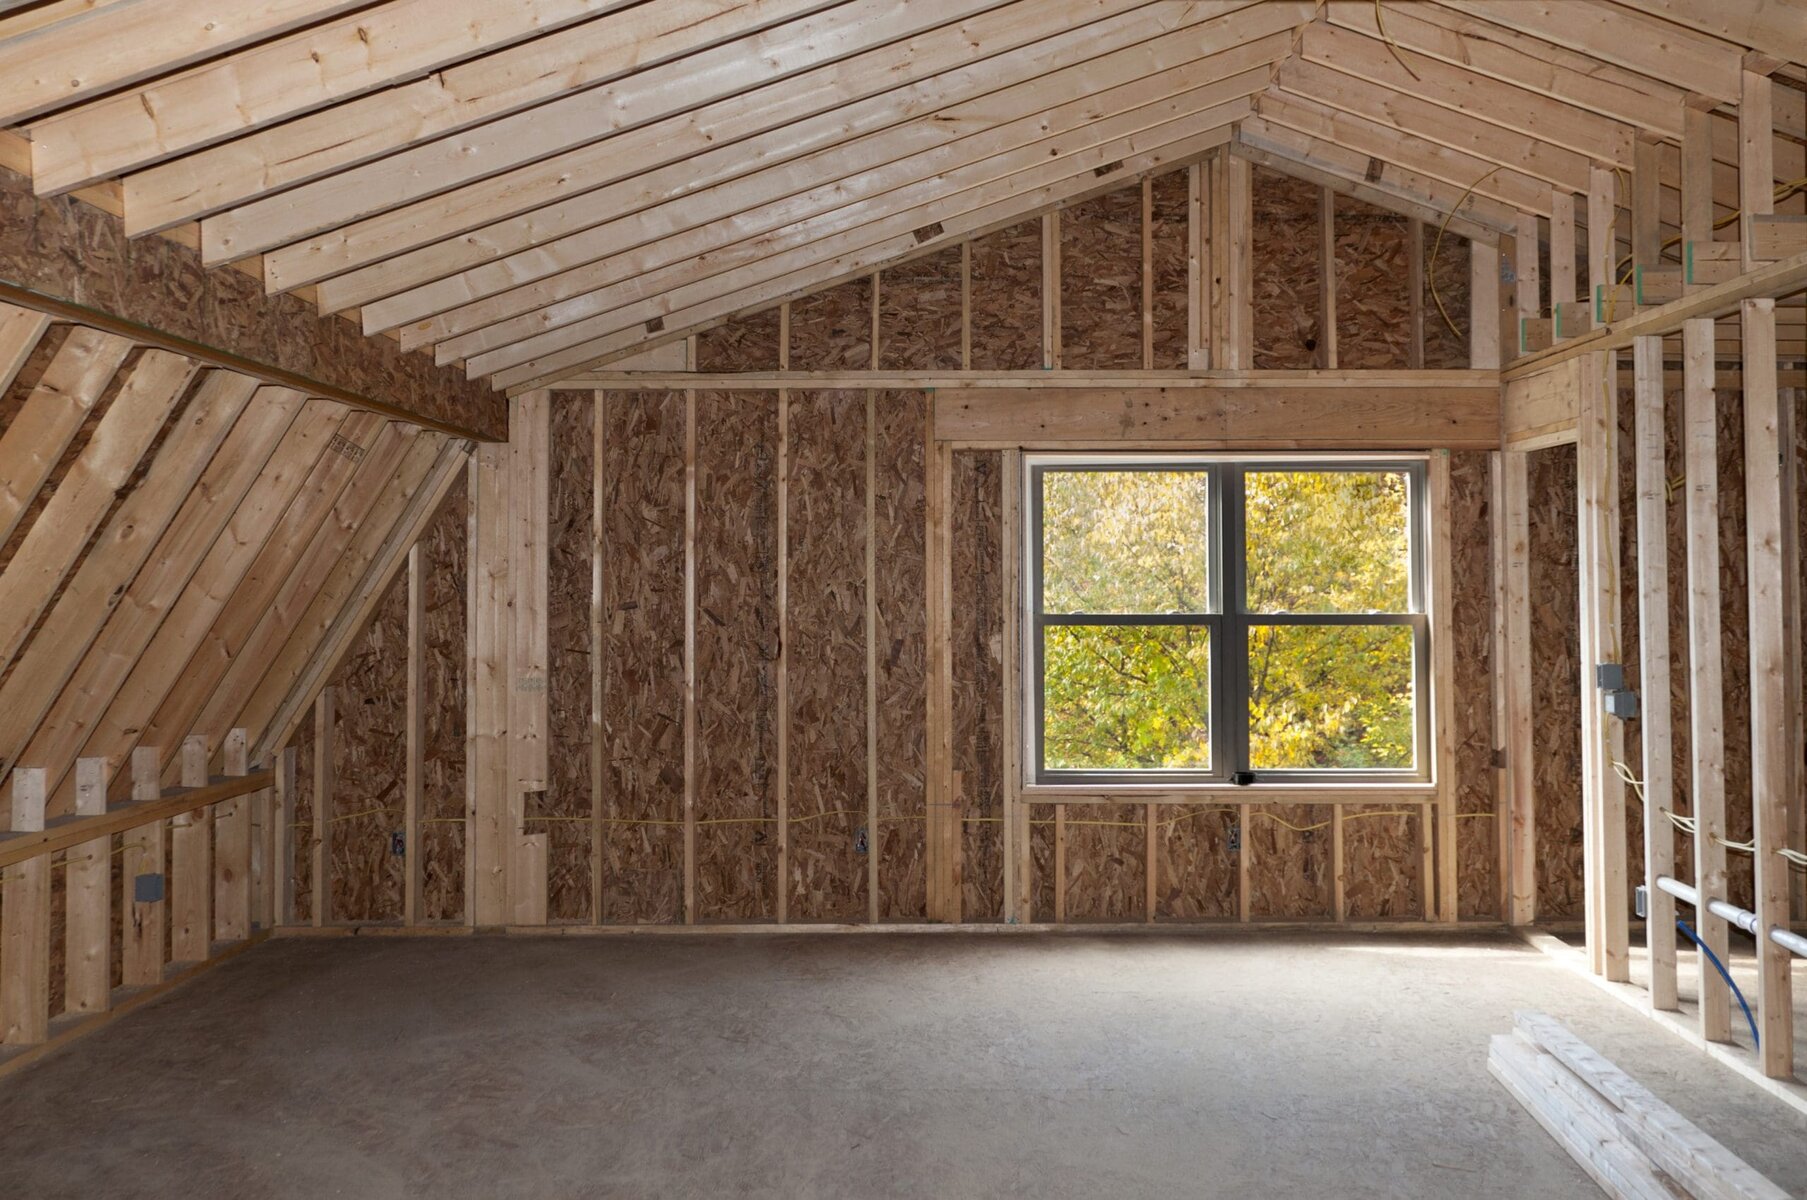
Phase 6 — Rough‑In Mechanical, Electrical, Plumbing, and Low‑Voltage
The home’s arteries are installed while the walls are open. 2026 building science demands a systems‑thinking approach.
-
Electrical: upgrade to a 200‑amp or 400‑amp panel to support EV chargers, induction cooktops, heat pump water heaters, and future solar plus battery storage. Hardwire smoke and CO detectors per code.
-
Plumbing: repipe old galvanized steel with PEX or copper. Install a hot‑water recirculation loop or point‑of‑use electric water heaters for instant hot water without waste. Pre‑plumb for a greywater system if landscaping reuse is planned.
-
HVAC: California’s 2026 energy code strongly favors all‑electric systems. A high‑efficiency inverter heat pump provides both heating and cooling. Add an Energy Recovery Ventilator (ERV) to maintain indoor air quality in a tightly sealed envelope. Seal and test all ducts for less than 5 percent leakage.
-
Low‑voltage and smart home: run Cat 6a cable to every room, ceiling‑mounted Wi‑Fi access points, security camera pre‑wires, motorized shade provisions, and a structured media panel. Even if you won’t install all the tech immediately, the wiring is a fraction of the cost during rough‑in.
-
Insulation and air sealing: spray‑foam or dense‑pack cellulose achieves R‑values beyond code minimum. A blower‑door test at this stage catches leaks before drywall.
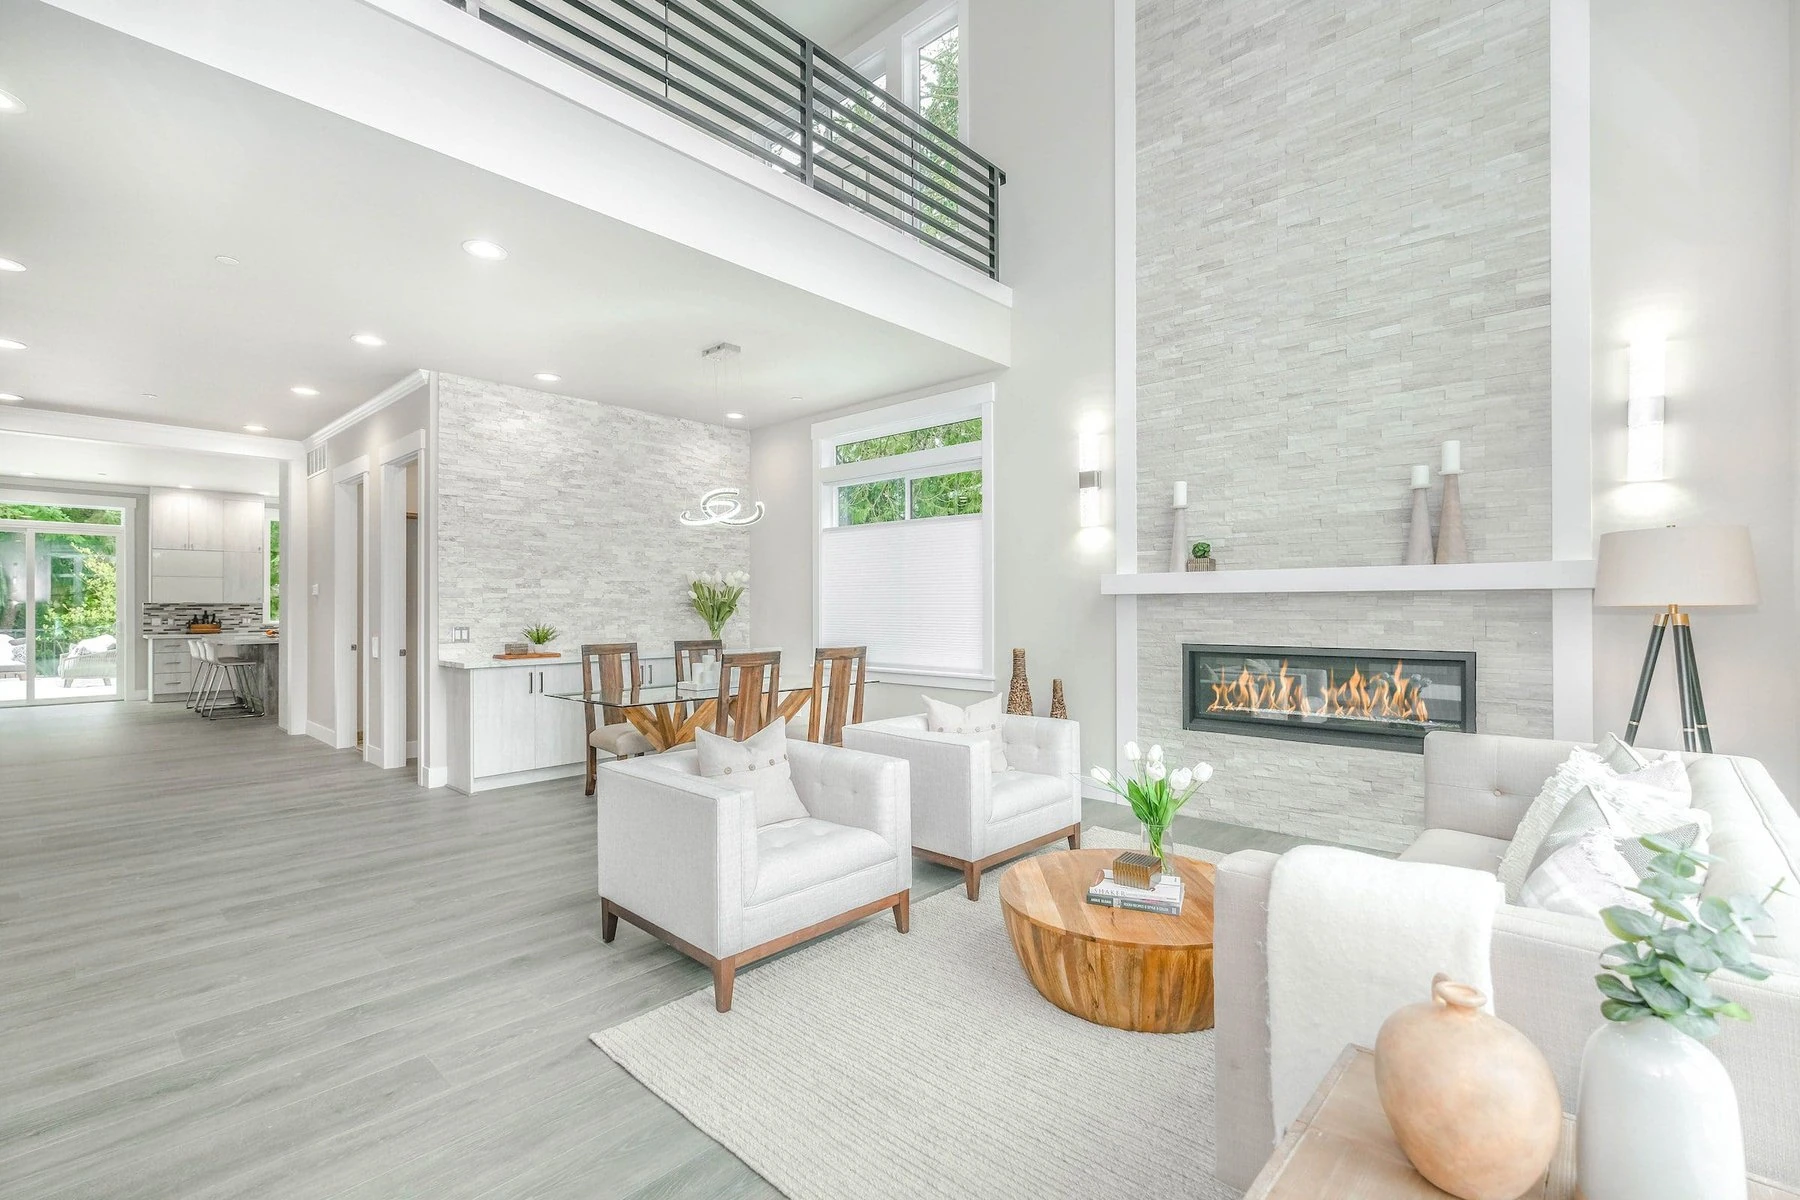
Phase 7 — Drywall, Trim, Millwork, and Interior Finishes
The house starts looking like a home. Finish sequencing is an art that prevents rework.
-
Hang, tape, and texture drywall. In 2026, many homeowners opt for a smooth Level 5 finish on walls and ceilings, especially where natural light reveals imperfections.
-
Install interior doors, window casings, baseboards, and crown molding. Pre‑finished engineered wood or solid hardwood flooring goes down before cabinetry for a seamless look.
-
Kitchen and bathroom cabinets are set, countertops templated and installed, appliances slid into place. Appliance lead times have improved, but ordering at the permit stage remains wise — an integrated refrigerator or panel‑ready dishwasher can still take 12 weeks.
-
Tile work in showers, backsplashes, and floors follows in phases. Any large‑format tile or natural stone demands a flat substrate; the design‑build team should have already specified the required underlayment.
-
Painting: apply a low‑VOC primer and two finish coats. Spraying doors and trim off‑site or in a contained booth yields a factory‑quality finish.
-
Final electrical trim, plumbing fixture installation, and HVAC grille placement are coordinated to hit the designed aesthetic. This is when you see the pendant lights, wall sconces, and smart thermostats that were specified months earlier.
Phase 8 — Inspections, Punch List, and Final Walkthrough
You are not done until every inspector signs off and every nail pop is fixed.
-
Sequence final inspections: building, electrical, plumbing, mechanical, fire, and sometimes a separate energy compliance verification. A project manager schedules these to minimize downtime; failing one can push occupancy back two weeks waiting for a re‑inspection.
-
Create a punch list together. Walk the home with the contractor and mark every imperfection with blue tape — a misaligned cabinet door, a paint touch‑up, a scratch on a window frame. Golden Shore Design & Build completes punch‑list items systematically before requesting the final payment draw.
-
Collect lien releases from all subcontractors and suppliers. This protects you from a mechanics’ lien after you’ve moved in.
-
Obtain the certificate of occupancy or final sign‑off from the building department. Only then is the home legally habitable.
-
Receive the close‑out package: as‑built drawings, appliance manuals, warranty certificates, paint color formulas, tile and flooring lot numbers, and maintenance schedules. GSDB provides a digital binder for easy future reference.
Frequently Asked Questions About Home Renovations
How long does a full‑scale home renovation take from planning to completion?
In 2026, a complete gut renovation of a 2,000‑square‑foot home in San Diego County typically spans 30 to 40 weeks, broken into roughly 10 weeks for design, permitting, and material procurement, and 20 to 30 weeks for construction. Adding an ADU extends the timeline by 6 to 10 weeks. Projects that use a design‑build team with in‑house coordination often finish closer to the lower end of that range.
What is the average cost of a whole‑home remodel per square foot?
Mid‑range whole‑home remodels in San Diego currently average 200 dollars to 400 dollars per square foot, while luxury custom renovations can reach 600 dollars or more per square foot. These figures include contractor overhead, design and engineering fees, permits, and standard finishes. A detailed scope definition and early material selection prevent the cost per square foot from creeping upward mid‑project.
Do I really need a 15–20 percent contingency fund?
Yes. Even with meticulous planning, unseen conditions — termite damage, outdated wiring, cast‑iron drain pipes, or asbestos — appear once walls are opened. The contingency prevents project stall. Funds not used return to you at the end or can be redirected to a wish‑list upgrade.
How do California ADU regulations affect my renovation?
California’s 2026 ADU laws greatly simplify building an accessory dwelling unit by limiting local agencies’ ability to deny permits and by waiving certain impact fees for units under 750 square feet. However, owner‑occupancy requirements, fire access, and coastal zone rules still apply. Partner with a contractor well‑versed in ADU legislation to navigate these efficiently.
Is it better to hire a design‑build firm or separate architect and contractor?
Design‑build firms integrate design, engineering, and construction under one contract, which typically results in faster delivery, fewer cost overruns, and a single point of accountability. Traditional design‑bid‑build can offer more design‑focused creativity but often leads to budget and schedule gaps between the architect’s vision and the contractor’s reality. In 2026, many homeowners favor design‑build for full‑scale renovations because material and labor cost volatility rewards teams that price in real time.
What 2026 building code changes most affect home renovations?
California’s 2026 Title 24 energy standards push nearly all new and replacement HVAC systems toward all‑electric heat pumps. Mandatory solar‑ready provisions, enhanced insulation requirements, and stricter blower‑door test targets mean your renovation must deliver a tighter, more efficient envelope. A knowledgeable design‑build contractor builds these requirements into the plans from the beginning to avoid costly re‑engineering.
How can I ensure my renovation stays on schedule?
Schedule reliability starts with pre‑ordering long‑lead items (windows, custom cabinets, specialty appliances) at the permit stage, maintaining a weekly on‑site meeting with your project manager, and selecting a contractor with a documented track record of on‑time delivery. Golden Shore Design & Build’s dedicated project managers create a critical‑path schedule during pre‑construction and update it weekly, flagging any delay before it affects the move‑in date.
Why San Diego Homeowners Choose Golden Shore Design & Build
After dissecting every phase of a renovation, the single most impactful decision is whom you trust to execute it. Golden Shore Design & Build has earned its reputation as a top‑rated, licensed general contractor by delivering the full design‑build experience under one roof.
-
In‑house team — Architectural design, 3‑D renderings, structural engineering, and permit coordination are all handled internally, eliminating the finger‑pointing common in multi‑firm projects.
-
Transparent pricing — Detailed line‑item estimates and open‑book pricing keep you informed of every dollar spent. No hidden markups or vague allowances.
-
Dedicated project management — A single project manager oversees your schedule, budget, and quality, acting as your advocate from demolition through punch list.
-
Deep ADU expertise — GSDB navigates California’s constantly evolving ADU regulations every day, making the addition of a rental unit or guest house straightforward and cost‑effective.
-
Proven results — Licensed, bonded, and insured (California CSLB license #XXXXXX), with a portfolio of whole‑home remodels, kitchens, bathrooms, custom homes, and ADUs across San Diego County, from coastal communities to inland neighborhoods.
-
Satisfaction guarantee and clear communication — Weekly status updates, shared online project dashboards, and a formal promise to deliver the home you envisioned.
Book your free design consultation today at gsdb.us and start your renovation with a partner who handles every step.
Sources and Further Reading
-
Zonda, 2025 Cost vs. Value Report — https://www.zonda.com/research/cost-vs-value
-
National Association of Realtors, 2026 Remodeling Impact Report — https://www.nar.realtor/research-and-statistics/research-reports/remodeling-impact
-
California Department of Housing and Community Development, ADU Handbook — https://www.hcd.ca.gov/policy-and-research/accessory-dwelling-units
-
San Diego Development Services Department, Permits and Plan Review — https://www.sandiego.gov/development-services
-
California Energy Commission, 2025 Building Energy Efficiency Standards — https://www.energy.ca.gov/programs-and-topics/programs/building-energy-efficiency-standards