Key Takeaways: Building a new home in San Diego is a marathon, not a sprint. The biggest hurdles aren’t just the obvious ones like permits and budgets, but navigating the unique local terrain, climate, and a regulatory environment that can feel like its own ecosystem. Success hinges on choosing the right team for your specific lot and having a realistic, flexible timeline from the start.
Let’s be honest, the dream of building a new home in San Diego usually starts with a picture in your head: that perfect indoor-outdoor flow, sunlight streaming into a great room, maybe a peek of the Pacific from a second-story deck. It’s a powerful vision. Then you buy a piece of raw land in, say, Del Cerro or Scripps Ranch, and the reality of the path from that dirt to your dream house sets in. It’s a path we’ve walked with dozens of clients, and it’s full of twists, turns, and a few surprises that are uniquely San Diego.
We’re not here to sell you on the dream; you already have that. We’re here to talk about the ground truth—the gritty, practical, and sometimes frustrating process of turning a vacant lot into a livable home in this city. Because what works in a textbook or a generic online guide often stumbles when it meets our local clay soils, coastal commissions, and the sheer logistical puzzle of building on a hillside.
Table of Contents
What “New Construction” Really Means Here
When people say “new construction,” they’re often picturing a tract home in a master-planned community. That’s one experience. What we’re talking about is custom building on a vacant lot—what the industry calls a “speculative” or “custom” build. This is a different beast. You’re not just picking from a menu of upgrades; you’re responsible for every single system, from the soil report to the final paint sheen. The lot isn’t just a placeholder; it’s the most critical design constraint you have.
Featured Snippet: The process of new home construction on a vacant lot typically follows a phased sequence: 1) Feasibility & Design (land analysis, architectural plans), 2) Permitting & Engineering (city approvals, structural plans), 3) Site Development (grading, utilities), 4) Rough Construction (foundation, framing, mechanicals), 5) Finishes (drywall, flooring, cabinets), and 6) Final Inspections & Closeout. Each phase depends on the previous one being approved and completed.
The Unseen First Step: It’s All About the Dirt
Before you fall in love with a floor plan, you have to fall in line with the land. This is the step eager buyers most often want to skip, and it’s the costliest one to get wrong. A beautiful, affordable lot on a canyon rim in University City might come with geotechnical reports that require a $100,000+ deep pier foundation system. That changes the math instantly.
We always start with a feasibility study. This isn’t just a quick glance; it’s a forensic investigation of your lot’s personality—and its problems.
- Soils Report: Non-negotiable. San Diego’s expansive clay soils swell when wet and shrink when dry. Without proper engineering, that movement will crack your foundation and drywall. The report dictates your foundation design.
- Topography & Grading: How much dirt needs to move? Building on a slope in La Jolla or Tierrasanta isn’t inherently bad, but the cost to cut and fill the land, and the need for retaining walls, can add six figures.
- Utilities: Is there a sewer line at the street, or do you need a septic system? How far is the water meter? Bringing power, gas, and telecom to a remote lot can be surprisingly expensive.
- Easements & Setbacks: That gorgeous oak tree might be in a protected easement. Your dream of a backyard casita might be killed by a side-yard setback requirement. Your survey and title report are your maps here.
The San Diego Permitting Maze: Patience is Not a Virtue, It’s a Requirement
If there’s one universal experience in local construction, it’s the wait for permits. The City of San Diego’s Development Services Department, along with ancillary agencies like the San Diego Fire-Rescue Department for fire sprinkler plans, have a process that can feel byzantine. It’s not uncommon for the design and permitting phase to take 12-18 months for a custom home. You’re dealing with planning, building, fire, public works, and sometimes the Coastal Commission if you’re west of the I-5.
The key isn’t to fight the system but to understand it. A seasoned architect and builder know how to prepare submittal packages that are complete, reducing the back-and-forth. They know which planners are reviewing which neighborhoods. They understand that a project in North Park’s historic district will have different design guidelines than one in Carmel Valley. Rushing this phase or trying to DIY it is a surefire way to add months, not save them.
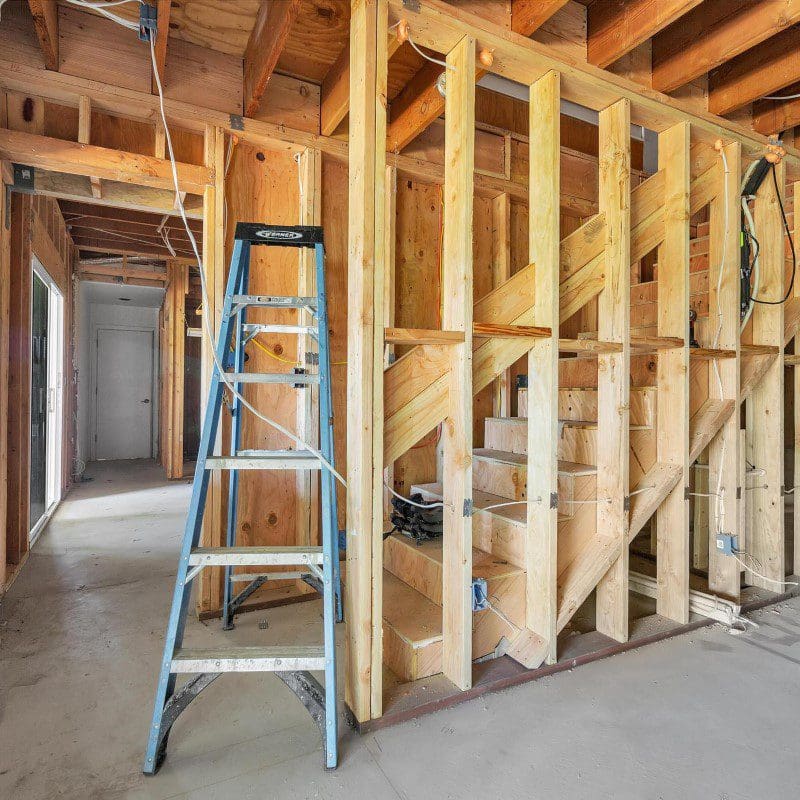
The Build Itself: Where Theory Meets Reality
Once the permits are stamped and the ground is broken, the rhythm changes. Now it’s about logistics, weather, and trade coordination. A typical sequence looks like this, but remember, in San Diego, “typical” is a flexible term:
- Grading & Foundation: The big earth-moving equipment arrives. This is loud, messy, and critical. The foundation isn’t just a slab; it’s the engineered response to your soils report. We’ve seen pours delayed by “May Gray” fog that keeps the ground too damp.
- Framing & Drying-In: The skeleton goes up. This is when the house feels real. Then the roof and windows go on to “dry it in.” This is crucial before interior work begins.
- Rough Mechanicals: The guts of the house—electrical, plumbing, HVAC, low-voltage wiring—are all installed inside the walls. This is the time to obsess over outlet placement, shower valve locations, and speaker wires.
- Insulation & Drywall: The house gets quiet and starts to feel like interior space. In our climate, insulation and air sealing are huge for energy efficiency, especially with our mild but often un-insulated winters.
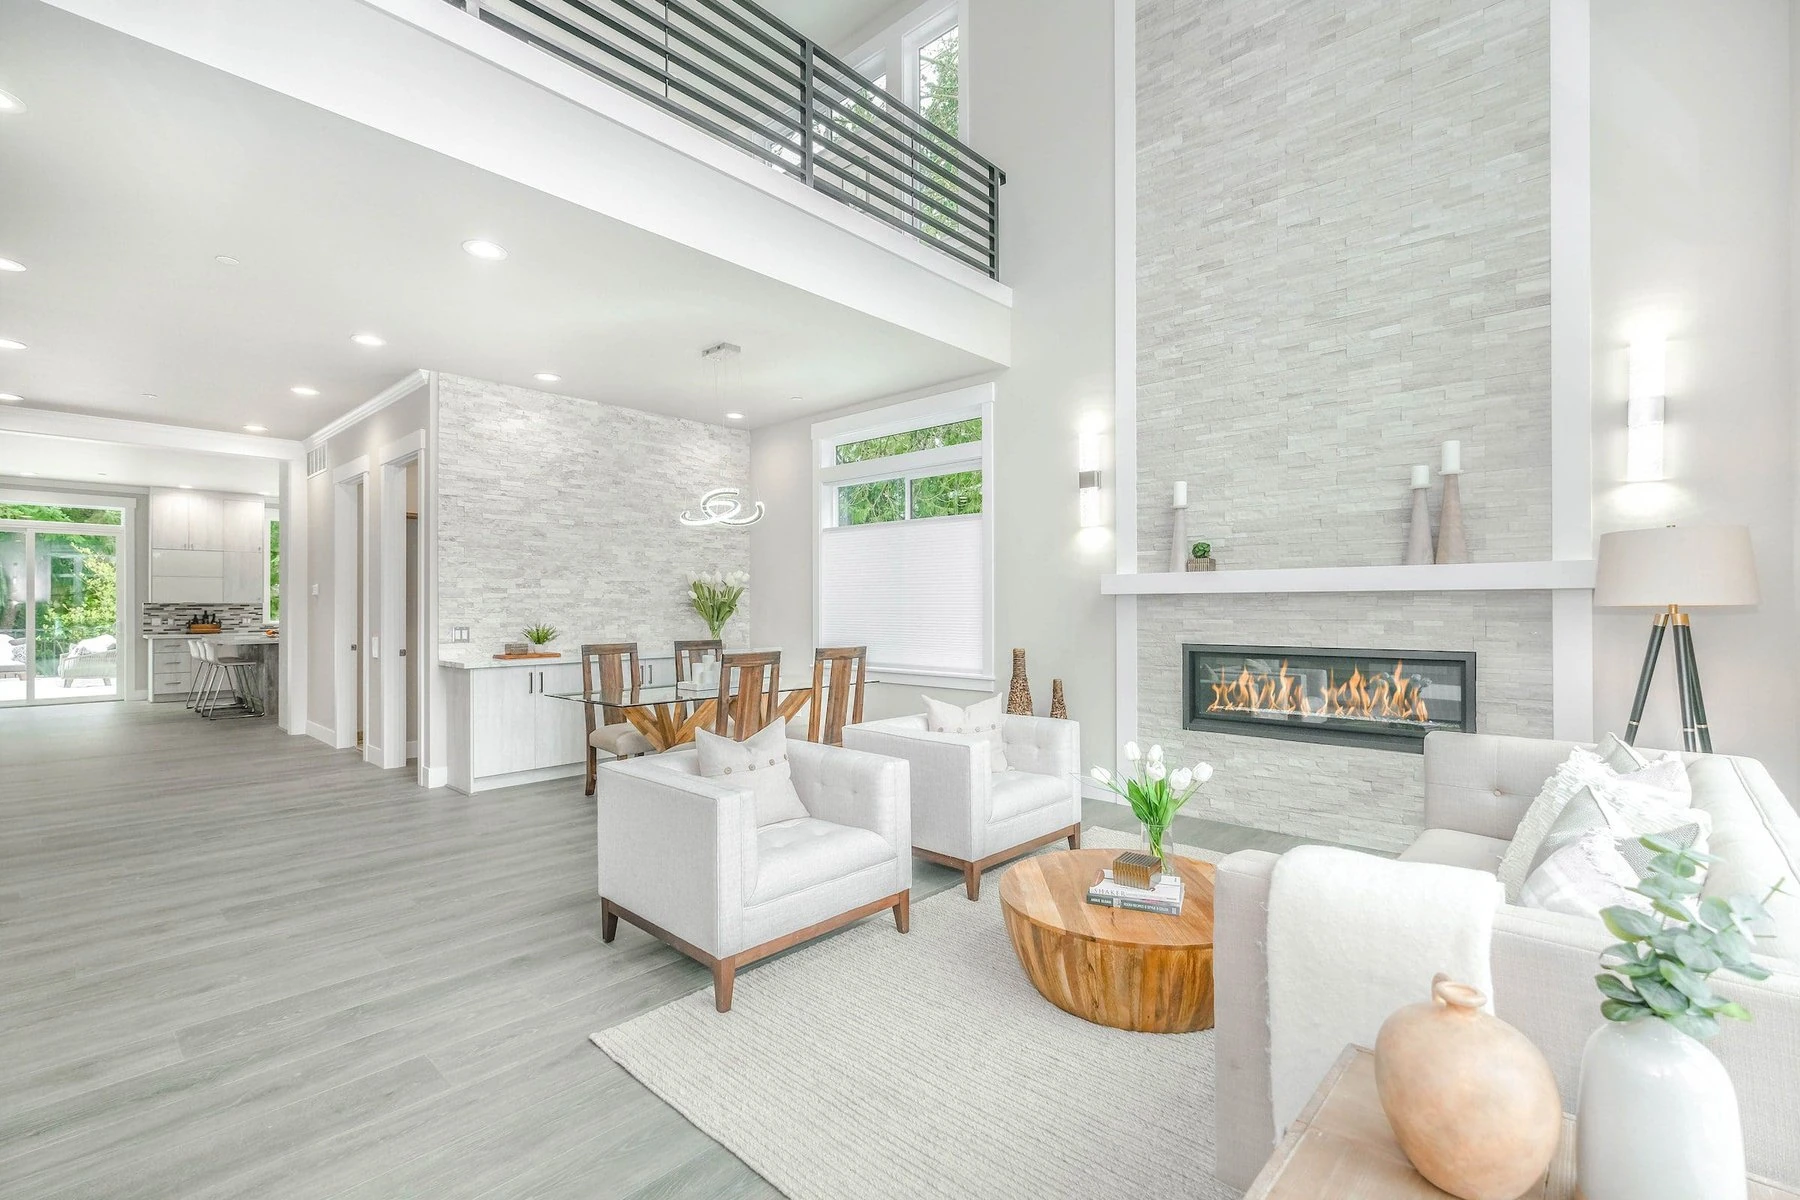
- Finishes: This is the long tail: cabinets, tile, flooring, paint, lighting. It feels slow because it’s detail-oriented work. Supply chain hiccups often show up here (waiting 12 weeks for a specific window or appliance is not unusual).
- Final Inspections & Punch List: The city comes for final sign-off. Then, you and your builder walk through to create a “punch list” of minor items to fix. A good builder expects this and has a system to handle it efficiently.
The Budget Realities No One Likes to Talk About
Budget overruns are the ghost haunting every construction project. In our experience, they’re rarely about greed; they’re about the unknown becoming known. You can’t budget for what you can’t see. That’s why we advocate for two critical financial tools:
- A Realistic Contingency: Not 5%. For a custom build on a challenging lot, 15-20% of the total construction budget should be held in reserve for unforeseen conditions. When the excavator finds undocumented bedrock or old foundation remnants, you’ll need it.
- Clear Allowances: For items like tile, lighting, and plumbing fixtures, budgets are often set as “allowances.” If your allowance is $5,000 for kitchen faucets and you fall in love with a $2,500 one, you’re fine. If you pick a $8,000 one, you need to cover the gap. Clarity here prevents 90% of financial arguments.
| Budget Category | What It Typically Covers | The Hidden Pitfall (San Diego Edition) |
|---|---|---|
| Soft Costs | Design, permits, engineering, fees. | Underestimating the time & revision costs for planning department reviews, especially in designated overlay zones. |
| Site Work | Grading, utilities, demolition, retaining walls. | Unstable soil requiring extra engineering or the cost to haul away dirt (there’s often nowhere to put it on a small lot). |
| Hard Construction | Materials & labor for the physical structure. | Lumber price volatility and the premium for coastal-rated materials (e.g., corrosion-resistant fasteners). |
| Interior Finishes | Cabinets, flooring, countertops, paint. | The “allowance trap” – where selections made during the stress of building exceed preliminary budget numbers. |
| Landscaping | Irrigation, plants, hardscape, outdoor structures. | Often cut to save money, but in San Diego, your outdoor space is a primary living area. Skimping here hurts livability. |
When to Call a Professional (And We Don’t Just Mean Us)
This is the core question. Can you act as your own General Contractor? Legally, yes, if you pull an owner-builder permit. Practically? We’ve seen it go beautifully for a retired engineer with unlimited time. We’ve seen it end in disaster and financial loss for a busy professional.
Consider hiring a professional design-build firm like Golden Shore Design & Build if: Your lot has significant slope or soil issues; your design is complex; your timeline is fixed (e.g., selling a current home); or you simply lack the bandwidth to manage 20+ different subcontractors, their schedules, insurance, and quality control. The value isn’t just in building—it’s in navigating risk and managing chaos. A good local firm in San Diego has relationships with the best concrete crews, framers, and inspectors. They know how to get a plumbing rough-in inspection scheduled within a week, not a month. That knowledge saves you time, stress, and often, in the long run, money.
The Final Walkthrough: It’s Not Just a Checklist
When you finally get the keys, it’s emotional. The final walkthrough shouldn’t be a confrontation, but a collaborative review. Turn on every faucet, test every outlet, open every window. This is your time to note the tiny paint touch-up or the door that doesn’t latch perfectly. A reputable builder wants this list. They know a house needs to settle, especially in our soil, and they should provide a warranty period to address any issues that pop up in the first year.
Building a home here is a monumental undertaking. It tests your patience, your budget, and your marriage. But when you’re finally sitting in your living room, designed for the way you actually live, with the sunset light hitting just right, you realize it wasn’t just about building a house. It was about understanding a piece of San Diego land and creating something that belongs to it. That’s the part no generic guide can give you—it’s the local knowledge, earned through experience, that makes the dream stand solid.
Related Articles
Why You Should Consider Phasing Your Renovation
Three Crucial Steps Before Building New In San Diego
Building a New Construction Home: The Complete Guide From Land to Move-In Day
San Diego ADU Construction: Fast-Track Your Build & Avoid Costly Mistakes
The Complete Guide To Coastal Development Permits (CDP) For San Diego Home Additions
People Also Ask
The process of building a house on raw land begins with a thorough site assessment to confirm soil stability and proper drainage. You must then secure all necessary permits from your local county or city planning department. After clearing and grading the land, the foundation is laid, followed by framing the structure. Rough-in work for plumbing, electrical, and HVAC systems comes next. Insulation, drywall, and interior finishes complete the interior, while exterior siding, roofing, and landscaping finalize the project. For homeowners in San Diego, Chula Vista, National City, La Mesa and Spring Valley CA, Golden Shore Design and Build can guide you through each phase, from initial site preparation to final walkthrough, ensuring compliance with local building codes.
The construction process typically follows five key stages. First is the pre-design and planning phase, which involves defining your project scope, budget, and site analysis. Second is the design and engineering stage, where architectural drawings and structural plans are finalized. Third comes pre-construction and permitting, which includes obtaining necessary approvals and selecting subcontractors. The fourth stage is the actual construction, covering site work, foundation, framing, and finishing. Finally, the close-out and handover stage involves final inspections, punch lists, and transferring ownership. For homeowners in San Diego, Chula Vista, or National City, understanding these stages helps ensure a smooth project. Golden Shore Design and Build can guide you through each phase with professional oversight.
The building process typically follows seven key steps. First is pre-construction planning, where you define your project goals and budget. Second involves design and engineering, creating detailed plans and securing permits. Third is site preparation, including clearing and excavation. Fourth is foundation work, pouring concrete or laying footings. Fifth is framing, constructing the structural skeleton. Sixth involves rough-in work for plumbing, electrical, and HVAC systems. Finally, finishing touches include insulation, drywall, flooring, and fixtures. For a seamless experience, Golden Shore Design and Build can guide you through each phase, ensuring compliance with local codes in San Diego, Chula Vista, National City, La Mesa, and Spring Valley CA.
The cost to build a 2000 square foot house in San Diego can vary widely based on materials, design complexity, and site conditions. As a general industry standard, you can expect a range of approximately $300 to $500 per square foot for a custom home, which translates to a total of $600,000 to $1,000,000 or more. This estimate typically covers foundation, framing, roofing, basic interior finishes, and permits, but excludes land acquisition, impact fees, and extensive site preparation. For a more accurate budget, consider the specific lot, desired finishes, and any structural challenges. Working with a professional team like Golden Shore Design and Build can help refine these numbers based on your exact needs and local San Diego requirements.
For property owners in San Diego, the City of San Diego Development Services Department (DSD) handles all required building inspections. These inspections are mandatory checkpoints to verify that construction meets approved plans and current building codes. You should schedule inspections for key stages like foundation, framing, and final approval. To avoid delays, ensure your site is accessible and safe for the inspector. For a smoother process, Golden Shore Design and Build recommends reviewing our internal article titled Three Crucial Steps Before Building New In San Diego to understand how proper planning can streamline your inspection schedule. Always confirm your specific permit number and inspection type when booking with the city.
For information on the City of San Diego inspector directory and phone numbers, you should contact the City's Development Services Department directly. The main permit center can be reached at (619) 446-5000, where they can direct you to the appropriate building inspector or specific division. Many inspection scheduling and status inquiries are also handled through the city's online portal. If you are working with Golden Shore Design and Build, we typically manage all communication with city inspectors on your behalf to ensure a smooth process. For general questions about inspection protocols or permit requirements, you can also visit the city's official website for the most current directory and contact details.