Key Takeaways
The perfect kitchen appliance cabinet isn’t about a Pinterest photo. It’s a functional system that hides the clutter while keeping your most-used tools within arm’s reach. It requires honest assessment of what you actually use, an understanding of spatial mechanics, and a willingness to invest in hardware that does the heavy lifting. Get it wrong, and you’ve built a beautiful tomb for your toaster.
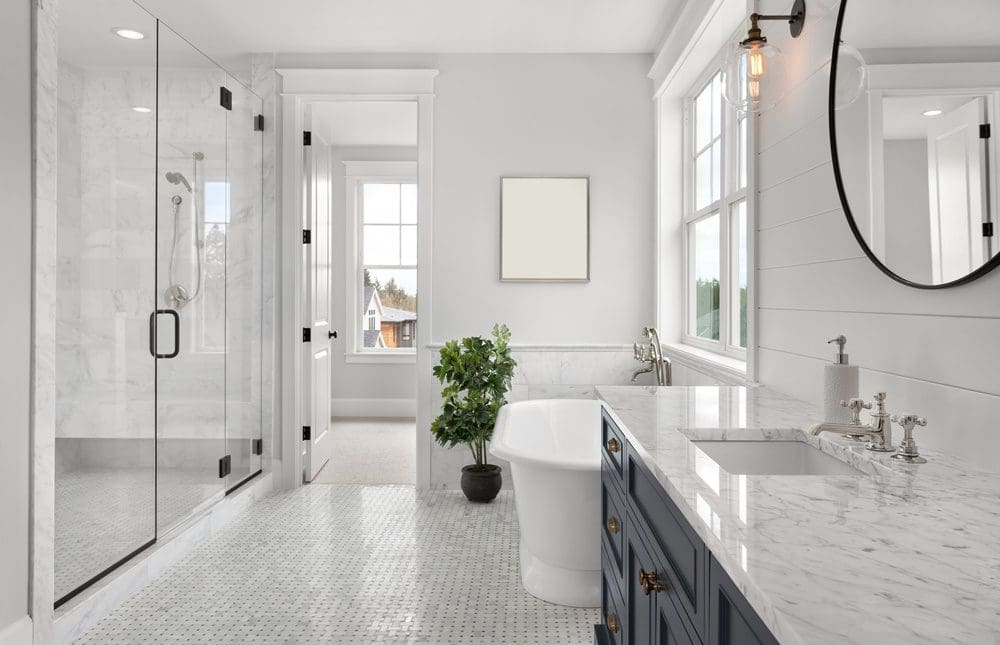
We’ve all seen the dream kitchen photos: pristine counters, a single artisanal bowl, and not a blender or air fryer in sight. Then you walk into your own kitchen, and it looks like a small appliance refugee camp. The dream is possible, but it demands a strategy rooted in reality, not aesthetics alone. The goal isn’t just to hide things—it’s to create a storage cabinet that makes your daily routine smoother.
What is an Appliance Garage or Storage Cabinet?
An appliance garage is a dedicated cabinet, often with a roll-up or swing-up door, designed to conceal countertop appliances while keeping them plugged in and ready to use. The modern evolution is the full-height appliance storage cabinet—a taller unit with adjustable shelving and built-in outlets, acting as a centralized charging station for everything from your coffee grinder to your stand mixer. It’s the difference between stashing and storing with intention.
Table of Contents
The Honest Audit: What Do You Really Use?
Before you sketch a single thing, do this. Pull every single countertop appliance you own onto your kitchen table. I mean all of them. Now, sort them into three piles:
- Daily/Weekly Drivers: Coffee maker, toaster, kettle.
- Monthly Specialists: Food processor, stand mixer, blender.
- The “Someday” Pile: The bread machine, the spiralizer, the single-serving smoothie cup thing.
Be ruthless. If you haven’t used it in a year, it doesn’t get prime real estate. This audit informs everything: the size of the cabinet, the shelf depths, and the number of outlets you’ll need. The biggest mistake we see is designing for fantasy use, not real life.
Location, Location, Outlet Location
Where you place this cabinet is more critical than its internal features. The ideal spot is within your “primary work triangle”—usually between the fridge, sink, and stove. A cabinet tucked at the end of a run, far from water and prep areas, will become a forgotten closet. We often integrate them into a pantry wall or as part of a kitchen island in San Diego homes, where open floor plans are common.
Consider your local context. In older San Diego neighborhoods like South Park or Normal Heights, where kitchens can be smaller, we might use a tall, narrow cabinet solution. In newer coastal builds, we have the space for a full-depth unit. Always, always plan for electrical first. You need a dedicated circuit with multiple outlets inside the cabinet. Overloading an existing circuit with your espresso machine, microwave, and Instant Pot is a recipe for a tripped breaker during dinner prep.
The Mechanics of Access: Doors, Shelves, and Slides
This is where the pros separate from the DIY dreams. The hardware is the system.
- Doors: A roll-up tambour door is the classic “appliance garage” look. It’s clean but can eat into interior space and the mechanisms can fail. A simple lift-up door is more reliable. For full-height cabinets, we often use a standard cabinet door but specify 170-degree hinges so they swing completely out of the way.
- Shelving: Fixed shelves are a mistake. You need adjustable shelving to accommodate a tall coffee maker today and a bulky air fryer tomorrow. Use heavy-duty shelf pins.
- The Heavy-Duty Solution: For anything over 20 lbs—think a stand mixer or a heavy-duty blender—pull-out shelving with full-extension, soft-close slides rated for at least 75 lbs is non-negotiable. You do not want to be wrestling a KitchenAid mixer from the back of a deep cabinet. This is the single most worthwhile upgrade.
Here’s a breakdown of the core hardware choices and what they mean for you:
| Feature | The Basic Option | The Pro-Grade Upgrade | Why the Upgrade Matters |
|---|---|---|---|
| Shelving | Fixed MDF Shelves | Adjustable, Plywood Shelves | Adaptability and long-term durability. Plywood won’t sag under weight. |
| Slides | Standard Side-Mount Slides | Undermount, Full-Extension, Soft-Close (High Weight Rating) | Smoother access, easier cleaning, and essential for heavy appliances. |
| Door Hinges | Standard 110-Degree Hinge | 170-Degree “Wide-Angle” Hinge | Gets the door completely out of the way, making the entire cabinet interior accessible. |
| Interior Finish | Unfinished / Melamine | PVC or Thermofoil Laminate | Easy to wipe down from dust, flour, and occasional coffee splashes. |
The Hidden Details That Make It Work
It’s the unsexy details that define success.
- Ventilation: Appliances generate heat, especially if left plugged in. Incorporate a vented toe-kick or a small, discreet grille in the back panel to allow heat to escape. In our San Diego climate, where we might not run the A/C constantly, this is a small but vital detail.
- Cable Management: A tangle of cords is a fire hazard and a nightmare. Use adhesive-backed cable clips or a central cord organizer inside the cabinet. Label each cord if you have multiple similar appliances.
- Depth & Clearance: Standard cabinet depth (24″) often isn’t enough for deep appliances with their cords. A 27-30″ deep cabinet is ideal. And remember clearance above the appliance! You need space to lift that blender pitcher out vertically.
When a Custom Cabinet Isn’t the Answer
This solution isn’t for everyone. If your kitchen is truly tiny, a deep drawer with a front-cut outlet in the backsplash above it might be a smarter, space-saving alternative. If you’re in a rental, a stylish, freestanding wooden crate or a simple shelf with a power strip can achieve a similar “corral” effect without renovation.
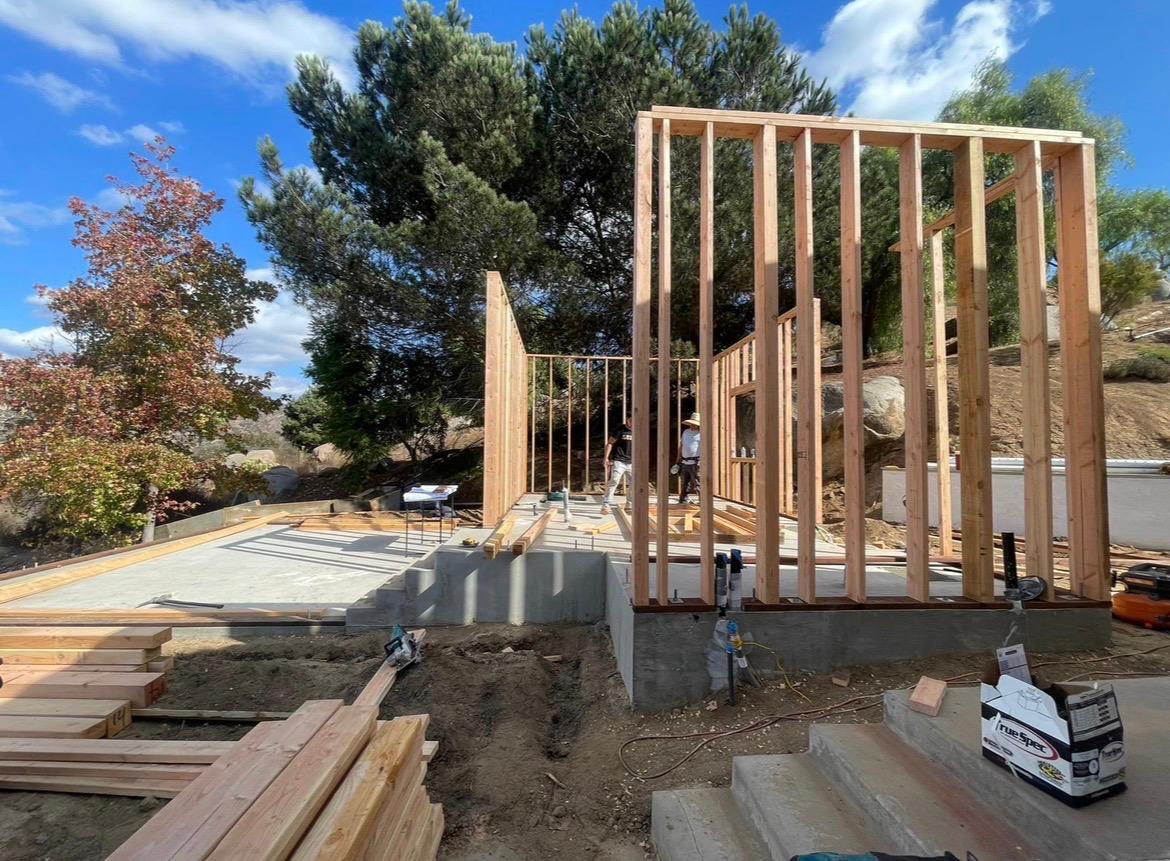
And honestly, sometimes the best move is to admit the project’s complexity. If you’re dealing with moving electrical, structural considerations, or integrating with existing custom cabinetry, the cost and frustration of a DIY gone wrong far outweighs bringing in a professional. We’ve been called to fix more than one “simple” cabinet project where the homeowner underestimated the framing and electrical work, ending up with a costly mess. A firm like ours, Golden Shore Design & Build, handles this precise blend of carpentry, electrical, and spatial planning daily—it’s often more efficient to have it done once, correctly.
The Final Touch: Living With Your System
Once it’s built, the job isn’t over. Revisit your three piles every year. Appliances evolve, habits change. The perfect cabinet is a living system, not a static monument. It should quietly make your morning rush easier and your countertops clearer, proving its worth not in looks, but in the sheer lack of daily friction.
In the end, designing the perfect appliance cabinet is an exercise in self-awareness. It’s about building a home for the tools you actually rely on, giving them a place that respects their function. It turns kitchen clutter into contained utility, and that, more than any empty counter, is what makes a kitchen truly feel designed.
Related Articles
Smart Pantry Organization Ideas For Efficiency
The Secret To A Clutter-Free Kitchen Renovation
The Great Kitchen Debate Open Shelving Vs Upper Cabinets
Smart Storage Solutions For Clutter-Free San Diego Kitchens
How To Vet A San Diego Contractor: The Ultimate Checklist
The Complete Home Renovation Roadmap: A Step‑by‑Step Guide From First Sketch to Final Walkthrough
People Also Ask
Designing a clutter-free kitchen layout begins with a focus on workflow and smart storage. The classic work triangle between the sink, stove, and refrigerator should remain unobstructed for efficiency. Incorporate deep drawers for pots and pans, vertical dividers for baking sheets, and pull-out pantry systems to keep counters clear. Upper cabinets should be used for less frequently used items, while everyday dishes stay within easy reach. For a comprehensive guide on achieving this, refer to our internal article titled The Secret To A Clutter-Free Kitchen Renovation. Golden Shore Design and Build recommends planning zones for prep, cooking, and cleaning to maintain order. A well-designed layout minimizes visual noise and maximizes function, ensuring your kitchen remains both beautiful and practical.